


DIY Home: Add Open-Shelf Storage for Less Than $40
Got an empty wall and overflowing cabinets and drawers? Curb the clutter with inexpensive open shelves you can install in a day

No matter how many cabinets we have or how large our pantry is, my husband and I never seem to have enough kitchen storage. Things end up jammed into the cupboards with little organization — or even worse, there's a cluttered mess on our counters visible to all. We needed a budget-friendly solution to curbing our clutter, and we found it with open shelving.
Finding a location for the shelves was easy. We have a large open wall that I had painted with a trellis design. I knew the shelves would complete the look and give us the added storage we needed.
Finding a location for the shelves was easy. We have a large open wall that I had painted with a trellis design. I knew the shelves would complete the look and give us the added storage we needed.
After locating your stud, level the bracket and mark the location. Drill the bracket into the wall using 2½-inch wood screws.
Find placement of the next bracket by locating the stud 32 inches away from the center of the first bracket; use a 3-foot level to ensure that the second bracket is level with the first bracket. Mark the location and drill the bracket into place.
Next measure 16 inches up from the top of the shelving support on the mounted bracket and mark that location. Line up the shelving support of the soon-to-be-mounted bracket with that mark. Now use the level to ensure that both the upper bracket and the lower bracket are plumb and flush with each other. Drill the bracket into place.
Repeat the previous steps for the last bracket, ensuring that the bracket is level both vertically and horizontally.
Repeat the previous steps for the last bracket, ensuring that the bracket is level both vertically and horizontally.
With the brackets mounted, place the shelves onto the brackets and secure the shelves into the brackets with 1-inch wood screws (two for each bracket.) Finally, fill the screw holes on the shelves and the brackets with paintable wood filler. After they're dry, touch up the spots with white latex paint.
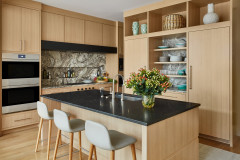
Now comes the fun part. Use the open shelving to display both practical items like baking ingredients and white dinnerware, and decorative items like this quirky nesting doll and Pike Place Market photograph. Just remember to display only items that will be used frequently, to avoid the accumulation of dust.
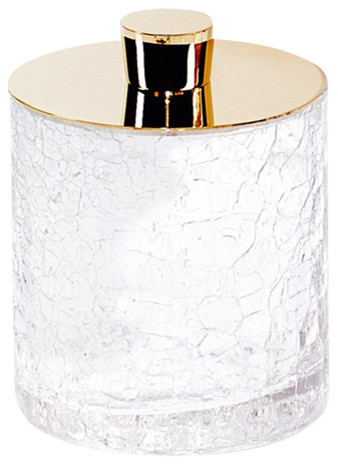
Vintage glass jars store food staples beautifully.
And finally, finish the look with a natural element. This potted plant complements the shelves' color scheme.
More:
12 Great Ideas for Organizing Your Kitchen
More:
12 Great Ideas for Organizing Your Kitchen

Materials:
- Four 11-inch shelf brackets
- One 1-inch by 12-inch by 8-foot whitewood board
- Eight 2½-inch wood screws
- Eight 1-inch wood screws
- White semigloss spray paint
- Primer
- White interior latex semigloss paint
First we prepared the brackets and shelves. We picked up our Ikea Ekby Valter Brackets for $4 each and gave each a coat of white semigloss spray paint. Next we cut the whitewood board in half to create two 4-foot-long shelves. Then we sanded both with 120-grit sandpaper and followed that up with one coat of primer and two coats of white latex semigloss paint.With the paint dry, we began planning the placement of the shelves. We placed the brackets 32 inches apart and then allowed a 16-inch distance between the two shelves. Mount your brackets into a wall stud to ensure adequate strength.