


Quick Fix: Repair Cracked Bathroom Grout
Banish an eyesore and safeguard your bathroom from water damage in 30 minutes or less with this DIY repair

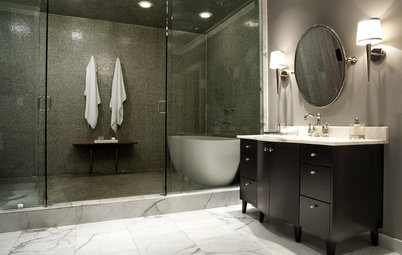
With any home purchase, there are plenty of positives and hopefully few negatives — and ours was no exception. Our home has great potential and good bones, but with those positives we also inherited many flaws, like banged-up walls, scratched laminate flooring and a dilapidated porch. Another unlucky feature was cracking grout in the corners of our shower where tile meets tile. Not only was this an eyesore, but if left unfixed, it could have caused water damage to the home's structure.
Due to a house shifting and moving throughout its life span, cracking in inflexible materials is a given. In this case, grout had been used in the corners of our shower where each side of the shower meet, resulting in large cracks in the water barrier.
To fix the cracked grout, we used:
• Caulking gun
• Scraping tool (you can also use a razor blade)
• Non-Sanded Ceramic Tile Caulk
• Caulking gun
• Scraping tool (you can also use a razor blade)
• Non-Sanded Ceramic Tile Caulk
We scraped out the existing failing grout from the opening. We then cleaned up any debris and wiped the surface clean.
This left us with a clean surface and an opening of about 1/8 inch.
Then we applied the caulk to the opening. The tile caulk is siliconized grout to allow for the application to flex with the home's movement without cracking.
Tip: Use a color match guide to match the existing grout to the tile caulk. You can pick one up in the tile and grout section of a home repair store.
Tip: Use a color match guide to match the existing grout to the tile caulk. You can pick one up in the tile and grout section of a home repair store.
Remove excess caulk with a tool designed for this purpose, or just your finger (in our case, it did a great job). Use a damp cloth to clean off any remaining caulk and to smooth the finish. Let the caulk dry, keeping it free from any water contact for the manufacturer's recommended time.
This simple fix was indeed quick — it took under 30 minutes — and our shower is back to looking great and protecting our home from future water damage.
More Quick Fixes:
Reupholster a Chair Seat
How to Patch a Drywall Hole
More Quick Fixes:
Reupholster a Chair Seat
How to Patch a Drywall Hole