


Stepping stones with embedded cast leaves
nckvilledudes
18 years ago
Sort by:Oldest
Comments (14)
Related Stories
PATIOSLandscape Paving 101: Cast-in-Place Concrete
A construction standard, cast-in-place concrete can be used for a wide variety of project types
Full Story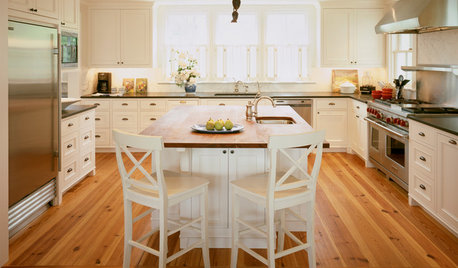
KITCHEN DESIGN3 Steps to Choosing Kitchen Finishes Wisely
Lost your way in the field of options for countertop and cabinet finishes? This advice will put your kitchen renovation back on track
Full Story
COFFEE WITH AN ARCHITECT12-Step Program for Architecture
Addicted to architecture? We understand. Here's something that may help ... or not
Full Story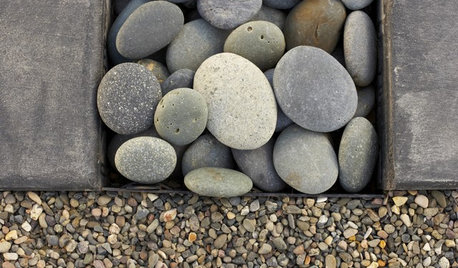
LANDSCAPE DESIGNThe Right Stone for Your Garden Design
Gravel, pebble, cobble and paddle: Stones vary in size and shape, and have different uses in the landscape
Full Story
ARCHITECTUREHouzz Tour: Modern Style With Wood, Stone and Color
The materials offer just the first surprise in this modern home in a Chicago suburb
Full Story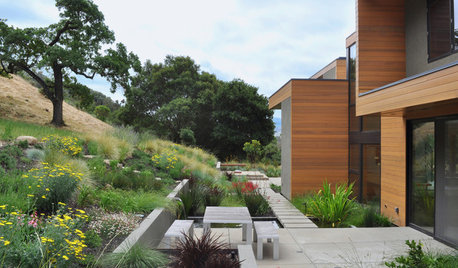
LANDSCAPE DESIGNOutdoor Style: Creative Ways With Classic Concrete
Have you cast concrete aside as being too dull or crack-prone? Learn about new design options along with the basics of using it outside
Full Story
KITCHEN DESIGNKitchen Counters: Durable, Easy-Clean Soapstone
Give bacteria the boot and say sayonara to stains with this long-lasting material that's a great choice for kitchen and bath countertops
Full Story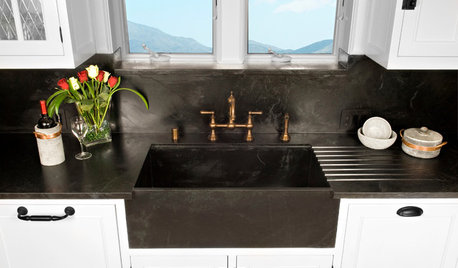
KITCHEN DESIGNKitchen Sinks: Soapstone for Germ-Free Beauty and Durability
Stains and bacteria? Not on soapstone's watch. But this sink material's benefits don't come cheap.
Full Story
KITCHEN DESIGN9 Gorgeously Modern Kitchen Fireplaces
As sleek and beautifully designed as their modern kitchen surroundings, these fireplaces leave old-fashioned hearths in the dust
Full Story
VINTAGE STYLEHouzz Tour: Flea Market Decor Done Right in Finland
Forget fusty and dusty. Secondhand finds in this home are as bright and cheery as if they just stepped off the showroom floor
Full Story
ltd123
butterflybush
Related Professionals
Arnold Landscape Architects & Landscape Designers · Belmont Landscape Architects & Landscape Designers · Middle Island Landscape Architects & Landscape Designers · Mitchellville Landscape Architects & Landscape Designers · Seabrook Landscape Architects & Landscape Designers · Pottstown Landscape Contractors · Athens Landscape Contractors · Bainbridge Island Landscape Contractors · Cockeysville Landscape Contractors · Franklin Landscape Contractors · Lyndhurst Landscape Contractors · New Cassel Landscape Contractors · Paramount Landscape Contractors · Woodbury Landscape Contractors · Quartz Hill Landscape Contractorstufaenough
Dena6355
paws4pets
nckvilledudesOriginal Author
MuddyMesaWoman
butterflybush
nckvilledudesOriginal Author
ltd123
rain1950
clairdo2
nckvilledudesOriginal Author
ltd123