


Briggs 18 HP Vanguard Head Gasket Replacement tips?????
happy123
14 years ago
Sort by:Oldest
Comments (8)
Related Stories
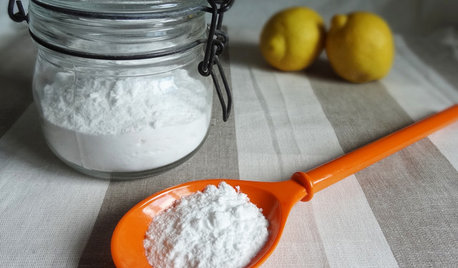
HOUSEKEEPINGBaking Soda: The Amazing All-Natural Cleanser You Already Own
Battle grime, banish odors and freshen clothes with this common nontoxic cupboard staple
Full StorySponsored
Columbus Area's Luxury Design Build Firm | 17x Best of Houzz Winner!
walt2002
happy123Original Author
Related Professionals
Ashland Landscape Architects & Landscape Designers · Citrus Heights Landscape Architects & Landscape Designers · Deer Park Landscape Architects & Landscape Designers · Havre de Grace Landscape Architects & Landscape Designers · Salisbury Landscape Architects & Landscape Designers · Barrington Landscape Contractors · Mastic Beach Landscape Contractors · Point Pleasant Landscape Contractors · Red Oak Landscape Contractors · Lauderdale Lakes Landscape Contractors · Shafter Landscape Contractors · Costa Mesa Window Contractors · Jensen Beach Window Contractors · South Laurel Window Contractors · Sterling Window Contractorsmownie
happy123Original Author
mownie
happy123Original Author
mownie
walt2002