


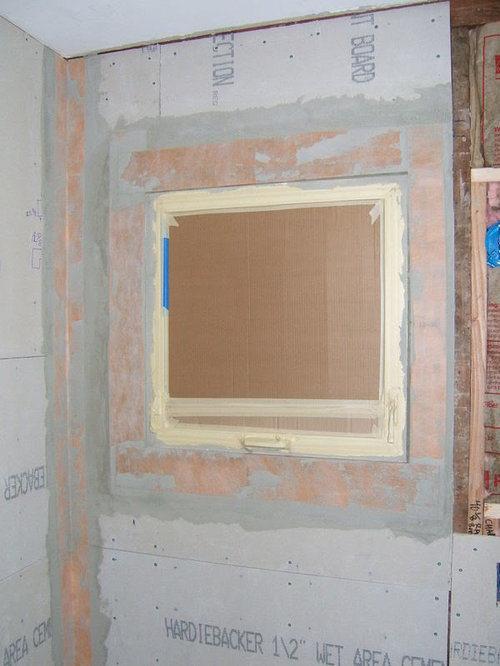
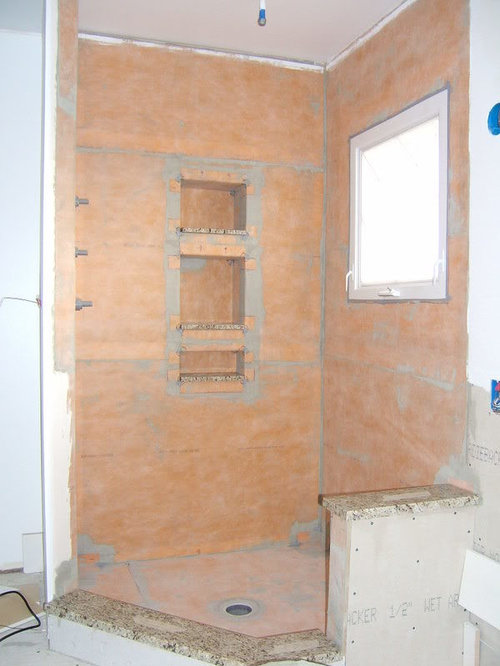
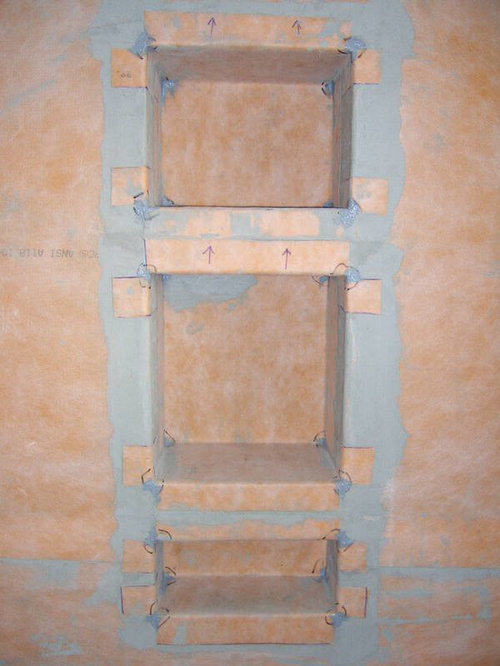
fully Kerdi'd
codnuggets
16 years ago
Sort by:Oldest
Comments (47)
Related Stories
BASEMENTSHouzz Tour: Swank Style for a Fully Stocked Basement
Tucking into plush seating or the steam shower, curling up with wine or a movie, these homeowners can do it in utmost comfort
Full Story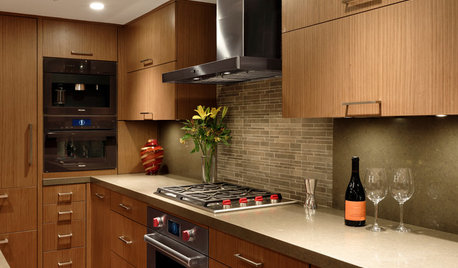
SMALL KITCHENSThe 100-Square-Foot Kitchen: Fully Loaded, No Clutter
This compact condo kitchen fits in modern appliances, a walk-in pantry, and plenty of storage and countertop space
Full Story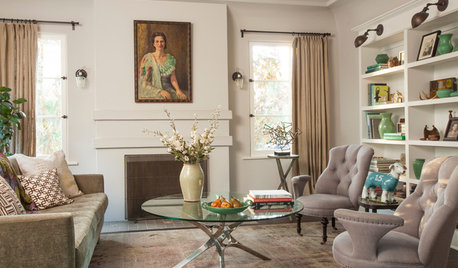
LIVING ROOMSNew This Week: 5 Fully Decorated Living Rooms That Don’t Go Overboard
See how designers filled these recently uploaded spaces with the right amount of furniture and accessories
Full Story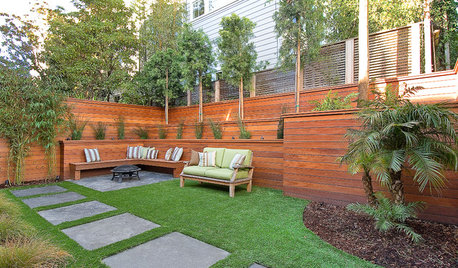
LANDSCAPE DESIGNCreate a Remarkable Garden by Thinking in 3D
Thinking of your space as a dimensional piece of sculpture can make it grand no matter what size it is
Full Story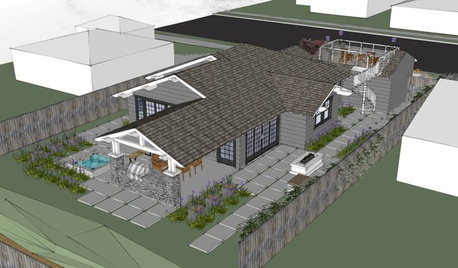
WORKING WITH AN ARCHITECTWho Needs 3D Design? 5 Reasons You Do
Whether you're remodeling or building new, 3D renderings can help you save money and get exactly what you want on your home project
Full Story
ARCHITECTUREWhat the Future Holds for 3D Printing in Architecture and Design
Designers worldwide are creating 3D-printed buildings, furnishings and materials. Will we be seeing this trend in our homes?
Full Story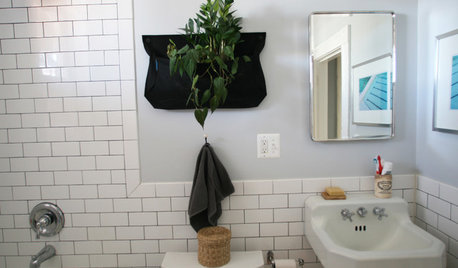
BEFORE AND AFTERSJumbled Style Goes Vintage Chic in a D.C. Bathroom Makeover
Sloppy on the outside and alarming on the inside, this row house bathroom now sports a clean new look and systems that work
Full Story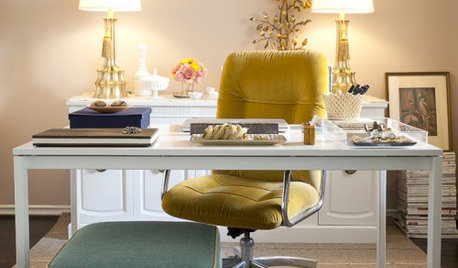
HOME OFFICESDream Spaces: Home Offices You’d Be Delighted to Work In
Warm lighting, comfortable furnishings and pleasing views can make you want to head into your home office each day
Full Story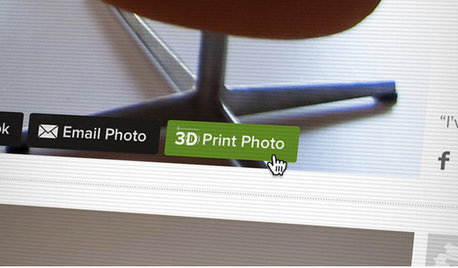
FUN HOUZZHouzz Announces 3D Furniture Printing
This amazing new technology promises to revolutionize the home furnishings industry. Here's how it works
Full Story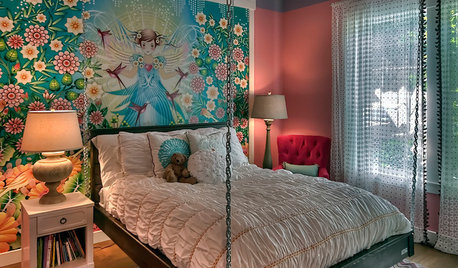
BEDROOMSGet in the Swing of Things With a Hanging Bed
Give your bedroom a style lift with a fully or partially suspended bed — or one that just mimics the look
Full StorySponsored
Professional Remodelers in Franklin County Specializing Kitchen & Bath
More Discussions


bill_vincent
codnuggetsOriginal Author
Related Professionals
Knoxville Kitchen & Bathroom Designers · St. Louis Kitchen & Bathroom Designers · Williamstown Kitchen & Bathroom Designers · South Farmingdale Kitchen & Bathroom Designers · University City Kitchen & Bathroom Remodelers · Richland Kitchen & Bathroom Remodelers · Tempe Kitchen & Bathroom Remodelers · Trenton Kitchen & Bathroom Remodelers · Carol City Glass & Shower Door Dealers · Danville Glass & Shower Door Dealers · West Valley City Glass & Shower Door Dealers · Tallahassee Glass & Shower Door Dealers · Ponte Vedra Glass & Shower Door Dealers · Wadsworth Cabinets & Cabinetry · Kent Window Treatmentskgwlisa
bill_vincent
toadangel
bill_vincent
codnuggetsOriginal Author
MongoCT
mommielady
mommielady
codnuggetsOriginal Author
codnuggetsOriginal Author
toadangel
codnuggetsOriginal Author
MongoCT
toadangel
mommielady
toadangel
mommielady
mommielady
MongoCT
riter
mommielady
MongoCT
mommielady
mommielady
riter
MongoCT
riter
MongoCT
riter
riter
MongoCT
MongoCT
mommielady
mommielady
MongoCT
mommielady
MongoCT
toadangel
MongoCT
mommielady
toadangel
mommielady
riter
toadangel
Avanti Tile & Stone / Stonetech