


Want to replace a hot water baseboard heat register
bigyellow
16 years ago
Sort by:Oldest
Comments (5)
Related Stories
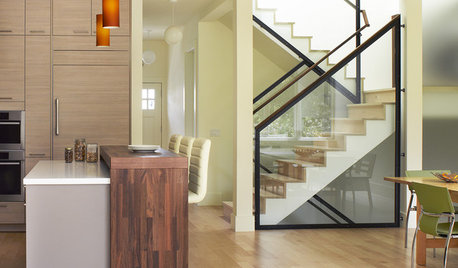
FLOORSIs Radiant Heating or Cooling Right for You?
Questions to ask before you go for one of these temperature systems in your floors or walls (yes, walls)
Full Story
GREAT HOME PROJECTSHow to Replace Your Lawn With a Garden
New project for a new year: Lose the turfgrass for energy savings, wildlife friendliness and lower maintenance
Full Story
GREAT HOME PROJECTSHow to Add a Radiant Heat System
Enjoy comfy, consistent temperatures and maybe even energy savings with hydronic heating and cooling
Full Story
FLOORSWhat to Ask When Considering Heated Floors
These questions can help you decide if radiant floor heating is right for you — and what your options are
Full Story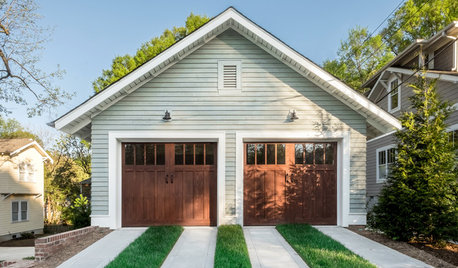
GREAT HOME PROJECTSHow to Replace or Revamp Your Garage Doors
Boost curb appeal and maybe even security with new garage doors. Find out cost ranges and other important details here
Full Story
FLOORSFloors Warm Up to Radiant Heat
Toasty toes and money saved are just two benefits of radiant heat under your concrete, wood or tile floors
Full Story
BATHROOM DESIGNWarm Up Your Bathroom With Heated Floors
If your bathroom floor is leaving you cold, try warming up to an electric heating system
Full Story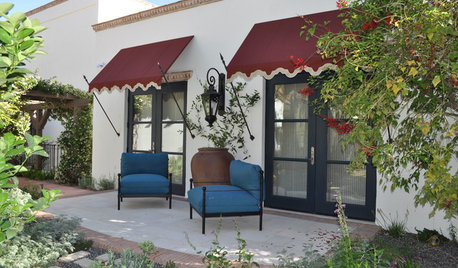
LIFECool Architecture for Hot Summers
Sun-repelling roofs, shades, windows and the natural flow of air can help your home weather heat waves
Full StoryGREEN BUILDINGInsulation Basics: Heat, R-Value and the Building Envelope
Learn how heat moves through a home and the materials that can stop it, to make sure your insulation is as effective as you think
Full Story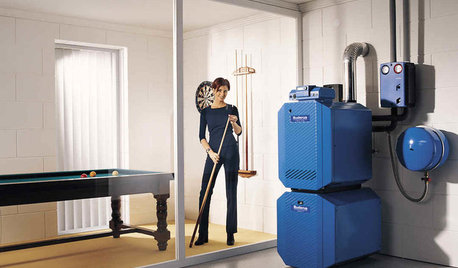
HOUSEKEEPING5 Steps to Improve Your Heating System Now
Increase your heater's efficiency and safety for lower energy bills and greater peace of mind this winter
Full Story

baymee
bigyellowOriginal Author
Related Professionals
Downey Solar Energy Systems · East Lake Solar Energy Systems · New Canaan Solar Energy Systems · Swansea Solar Energy Systems · Evanston Home Automation & Home Media · Fayetteville Home Automation & Home Media · Flower Mound Home Automation & Home Media · Fort Lauderdale Home Automation & Home Media · Garden Grove Home Automation & Home Media · Half Moon Bay Home Automation & Home Media · Oceanside Home Automation & Home Media · Burlingame Electricians · Beaufort Fireplaces · Crystal Lake Fireplaces · Hazel Crest Fireplacesvstech
baymee
garyg