


How to make birch flush door match 60's mahogany luan flush door?
mjsee
15 years ago


Sort by:Oldest
Comments (4)
Related Stories
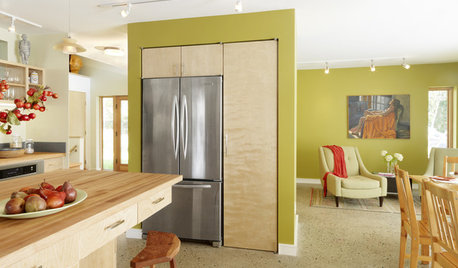
REMODELING GUIDESGet the Look of a Built-in Fridge for Less
So you want a flush refrigerator but aren’t flush with funds. We’ve got just the workaround for you
Full Story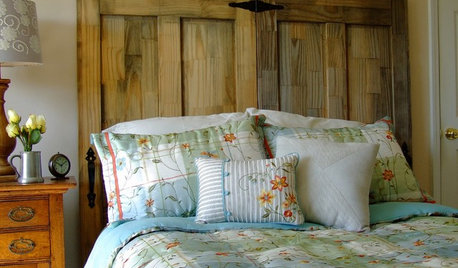
DIY PROJECTSMake Your Own Rustic-Chic Headboard From Salvaged Doors
Turn old doors into a charming headboard with these step-by-step instructions from an expert woodworker
Full Story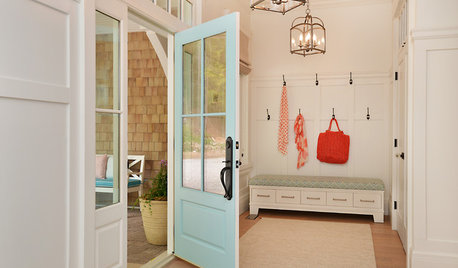
ENTRYWAYS7 Ways to Make the Most of Your Entrance
Consider these decorating ideas to boost the appeal of your front door and foyer
Full Story
COLOR11 Terrific Paint Color Matches for Wood Details
Pair your wood trim and cabinets with the right shade of wall paint to bring out the beauty in both
Full Story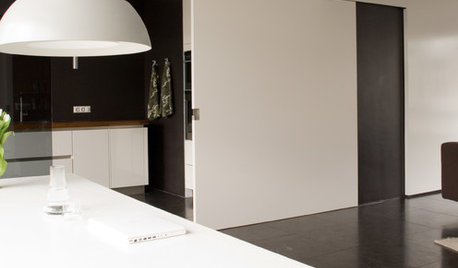
DESIGN DETAILSThe Secret to Pocket Doors' Success
Pocket doors can be genius solutions for all kinds of rooms — but it’s the hardware that makes all the difference. See why
Full Story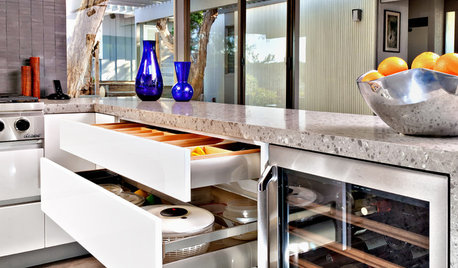
KITCHEN CABINETS9 Ways to Configure Your Cabinets for Comfort
Make your kitchen cabinets a joy to use with these ideas for depth, height and door style — or no door at all
Full Story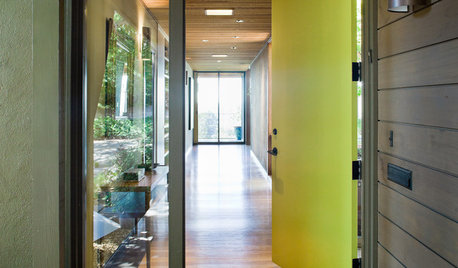
CURB APPEAL5 Bright Palettes for Front Doors
Splash bold green, blue, orange or red on your front door, then balance it with a more restrained hue on the rest of the house
Full Story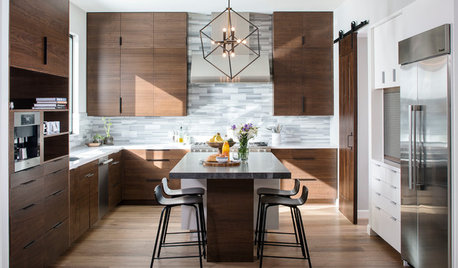
KITCHEN DESIGNNew This Week: Moody Kitchens to Make You Rethink All-White
Not into the all-white fascination? Look to these kitchens for a glimpse of the dark side
Full Story
REMODELING GUIDESHouzz Planning: How to Choose an Interior Door
Follow these pointers to choose the interior door that's right for you and your home
Full Story
DOORSKnow Your House: Interior Door Parts and Styles
Learn all the possibilities for your doors, and you may never default to the standard six-panel again
Full StoryMore Discussions


slateberry
mjseeOriginal Author
Related Professionals
Monterey Paint & Wall Coverings · Omaha Painters · Azusa Painters · Beach Park Painters · Campbell Painters · Saint Louis Park Painters · Thornton Painters · National City Cabinets & Cabinetry · Wildomar Cabinets & Cabinetry · Burlington Flooring Contractors · Dublin Flooring Contractors · Knoxville Flooring Contractors · Laguna Beach Flooring Contractors · Superior Flooring Contractors · Verona Flooring ContractorsmjseeOriginal Author
slateberry