


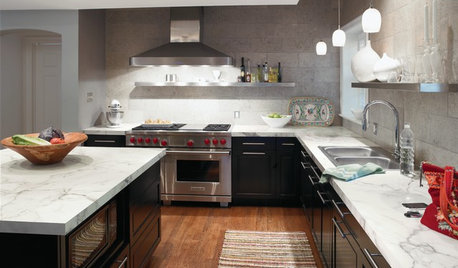
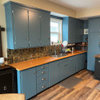
Counter re-laminating almost finished...
mrsmarv
15 years ago


Featured Answer
Sort by:Oldest
Comments (27)

CaroleOH
15 years agolast modified: 9 years ago
lucillle
15 years agolast modified: 9 years agoRelated Professionals
Bloomingdale Interior Designers & Decorators · Columbia Furniture & Accessories · Englewood Furniture & Accessories · Lebanon Furniture & Accessories · Manhattan Furniture & Accessories · Nashville Furniture & Accessories · Skokie Furniture & Accessories · Fountainebleau Furniture & Accessories · Florida City Lighting · Wasco Lighting · Wilmington Lighting · Antioch Window Treatments · Chicago Window Treatments · Cleveland Window Treatments · Oakland Window Treatmentsbrutuses
15 years agolast modified: 9 years ago
amykath
15 years agolast modified: 9 years agomomto4boys
15 years agolast modified: 9 years agobonniee818
15 years agolast modified: 9 years agotwizzis
15 years agolast modified: 9 years ago
ctlane
15 years agolast modified: 9 years ago
mitchdesj
15 years agolast modified: 9 years agosusan209
15 years agolast modified: 9 years agoBoopadaboo
15 years agolast modified: 9 years agoloribee
15 years agolast modified: 9 years ago2ajsmama
15 years agolast modified: 9 years agooceanna
14 years agolast modified: 9 years ago
nhb22
14 years agolast modified: 9 years agoUser
14 years agolast modified: 9 years agomrsmarv
14 years agolast modified: 9 years ago2ajsmama
14 years agolast modified: 9 years agomrsmarv
14 years agolast modified: 9 years agonhb22
14 years agolast modified: 9 years agomrsmarv
14 years agolast modified: 9 years agomrsmarv
14 years agolast modified: 9 years agonecia
14 years agolast modified: 9 years agomrsmarv
14 years agolast modified: 9 years agomarciagaye
14 years agolast modified: 9 years ago
nicole___
5 years ago


Related Stories
KITCHEN COUNTERTOPSKitchen Counters: Plastic Laminate Offers Options Aplenty
Whatever color or pattern your heart desires, this popular countertop material probably comes in it
Full Story
MODERN HOMESHouzz TV: Seattle Family Almost Doubles Its Space Without Adding On
See how 2 work-from-home architects design and build an adaptable space for their family and business
Full Story
CONTRACTOR TIPSContractor Tips: Countertop Installation from Start to Finish
From counter templates to ongoing care, a professional contractor shares what you need to know
Full Story
KITCHEN DESIGNBar Stools: What Style, What Finish, What Size?
How to Choose the Right Seating For Your Kitchen Island or Counter
Full Story
KITCHEN DESIGNWhat Goes With Granite Counters?
Coordinate your kitchen finishes beautifully by choosing colors that complement granite’s natural tones
Full Story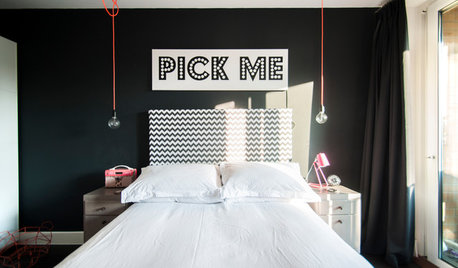
REMODELING GUIDES10 Signs You’re in the Middle of a Renovation
A renovation project allows you to choose every last detail for your home, but decision making can quickly go from ‘Ooooh’ to ‘Argh!’
Full Story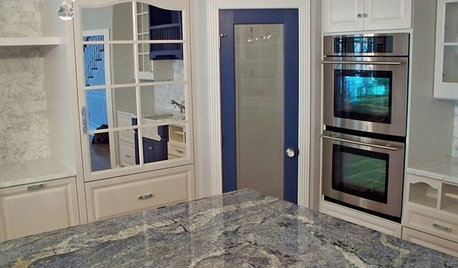
KITCHEN COUNTERTOPSKitchen Counters: Granite, Still a Go-to Surface Choice
Every slab of this natural stone is one of a kind — but there are things to watch for while you're admiring its unique beauty
Full Story
REMODELING GUIDESLaminate Floors: Get the Look of Wood (and More) for Less
See what goes into laminate flooring and why you just might want to choose it
Full Story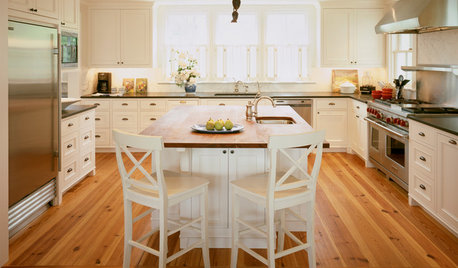
KITCHEN DESIGN3 Steps to Choosing Kitchen Finishes Wisely
Lost your way in the field of options for countertop and cabinet finishes? This advice will put your kitchen renovation back on track
Full Story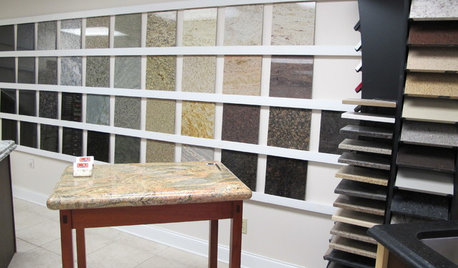
KITCHEN COUNTERTOPSWalk Through a Granite Countertop Installation — Showroom to Finish
Learn exactly what to expect during a granite installation and how to maximize your investment
Full Story

mrsmarvOriginal Author