


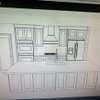
Cabinet designer screw up??? Crown doesn't cover gap
keppie
13 years ago
Sort by:Oldest
Comments (16)
Related Stories
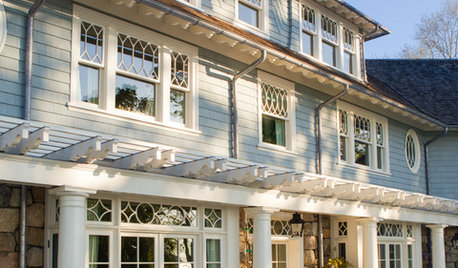
TRADITIONAL HOMESHouzz Tour: New Shingle-Style Home Doesn’t Reveal Its Age
Meticulous attention to period details makes this grand shorefront home look like it’s been perched here for a century
Full Story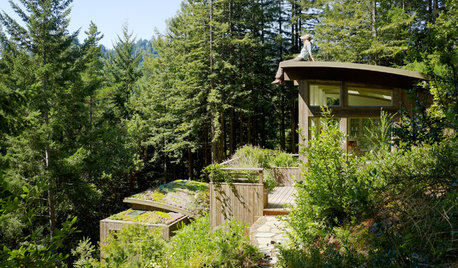
REMODELING GUIDESLiving Roofs Crown Green Design
Living roofs save energy, improve air, water, curb appeal — and the view from above doesn't hurt either
Full Story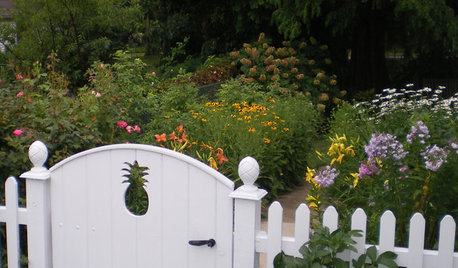
DECORATING GUIDESDesign Mystery: Why Do Pineapples Sprout Up in Home Design?
Early Americans were bananas about pineapples — and we’re still reaping the benefits of the sweet fruit’s symbolism today
Full Story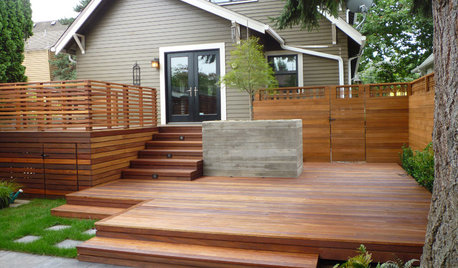
GARDENING AND LANDSCAPINGThat Gap Under the Deck: Hide It or Use It!
6 ways to transform a landscape eyesore into a landscape feature
Full Story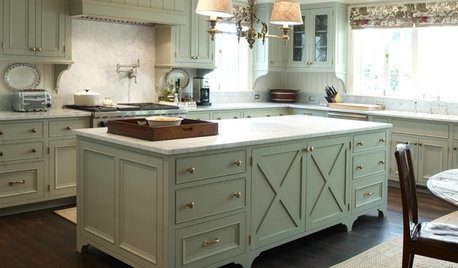
KITCHEN CABINETSCabinets 101: How to Work With Cabinet Designers and Cabinetmakers
Understand your vision and ask the right questions to get your dream cabinets
Full Story
MOST POPULARFrom the Pros: How to Paint Kitchen Cabinets
Want a major new look for your kitchen or bathroom cabinets on a DIY budget? Don't pick up a paintbrush until you read this
Full Story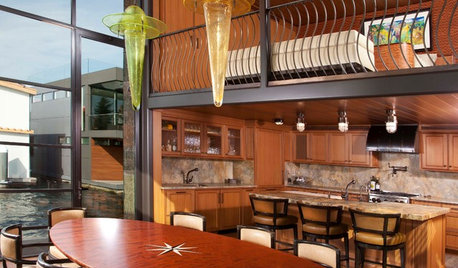
CONTEMPORARY HOMESHouzz Tour: A Bark-Covered Floating Getaway on Lake Union
If the unusual siding doesn’t clue you in to the fine craftsmanship in this floating home, the handmade handrails, lights and furniture will
Full Story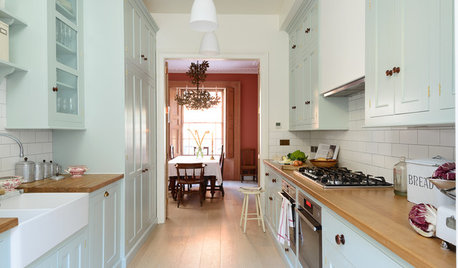
KITCHEN OF THE WEEKSmart Cabinet Arrangement Opens Up a Narrow London Kitchen
Elegant design and space-saving ideas transform an awkward space into a beautiful galley kitchen and utility room
Full Story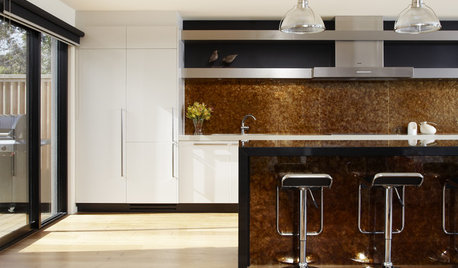
REMODELING GUIDES10 Design Features to Kick Your Remodel Up a Notch
You’ve done the legwork on your home renovation or new build. Now it’s time to plan your reward
Full Story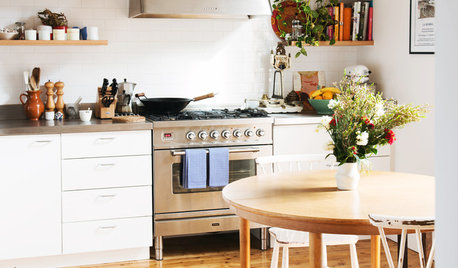
HOUZZ TOURSHouzz Tour: Design Moves Open Up a Melbourne Cottage
A renovation rejiggers rooms and adds space. Suspended shelves and a ceiling trick make the living area feel bigger
Full Story
weedmeister
monkeymo
Related Professionals
Leicester Kitchen & Bathroom Designers · Magna Kitchen & Bathroom Designers · North Versailles Kitchen & Bathroom Designers · Ramsey Kitchen & Bathroom Designers · Woodlawn Kitchen & Bathroom Designers · Bloomingdale Kitchen & Bathroom Remodelers · Lakeside Kitchen & Bathroom Remodelers · Red Bank Kitchen & Bathroom Remodelers · Republic Kitchen & Bathroom Remodelers · Langley Park Cabinets & Cabinetry · Effingham Cabinets & Cabinetry · Jefferson Valley-Yorktown Cabinets & Cabinetry · North Plainfield Cabinets & Cabinetry · North Bay Shore Cabinets & Cabinetry · Fayetteville Tile and Stone ContractorsUser
Kitchens by Design
kitchenkrazed09
Buehl
keppieOriginal Author
thusie
Circus Peanut
brickeyee
Buehl
toddimt
keppieOriginal Author
caryscott
keppieOriginal Author
Buehl