


Need Opinions on Grout Water Stains Outside of Curbless Shower
thingreen
9 years ago

Featured Answer
Sort by:Oldest
Comments (12)

User
9 years agolast modified: 9 years agothingreen
9 years agolast modified: 9 years agoRelated Professionals
Lockport Kitchen & Bathroom Designers · Wesley Chapel Kitchen & Bathroom Designers · Wood River Kitchen & Bathroom Remodelers · Brentwood Kitchen & Bathroom Remodelers · Elk Grove Village Kitchen & Bathroom Remodelers · Port Arthur Kitchen & Bathroom Remodelers · Weston Kitchen & Bathroom Remodelers · Lawndale Kitchen & Bathroom Remodelers · Houston Glass & Shower Door Dealers · Lake City Glass & Shower Door Dealers · Tomball Glass & Shower Door Dealers · Indian Trail Glass & Shower Door Dealers · Gaffney Cabinets & Cabinetry · Richardson Cabinets & Cabinetry · Feasterville Trevose Window TreatmentsMongoCT
9 years agolast modified: 9 years agothingreen
9 years agolast modified: 9 years agothingreen
9 years agolast modified: 9 years agonumbersjunkie
9 years agolast modified: 9 years agothingreen
9 years agolast modified: 9 years ago PRO
PROSrw Contracting Inc
8 years agoUser
8 years agolast modified: 8 years ago- PRO
Srw Contracting Inc
8 years ago User
8 years ago


Related Stories

BATHROOM DESIGNThe Case for a Curbless Shower
A Streamlined, Open Look is a First Thing to Explore When Renovating a Bath
Full Story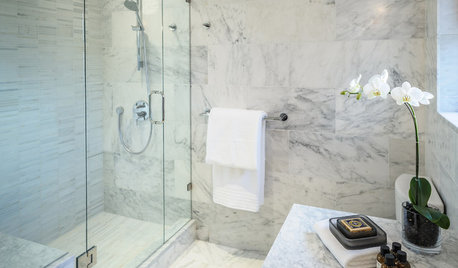
BATHROOM DESIGNConvert Your Tub Space Into a Shower — the Tiling and Grouting Phase
Step 3 in swapping your tub for a sleek new shower: Pick the right tile and test it out, then choose your grout color and type
Full Story
HOUSEKEEPINGHow to Clean Grout — Stains and All
If your grout is grossing you out, this deep-cleaning method will help it look new again
Full Story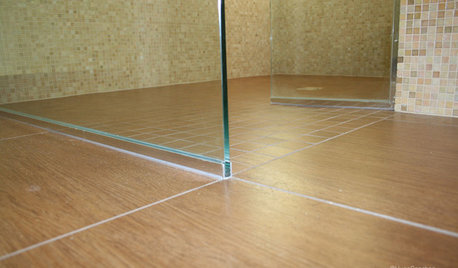
TILEEpoxy vs. Cement Grout — What's the Difference?
Grout is grout, right? Nope. Cement and epoxy versions have different appearances, durability and rules of installation
Full Story
TILE3 Key Steps for Grouting That Looks Its Best
Get your grout right to keep your tile beautiful and for an installation that will last
Full Story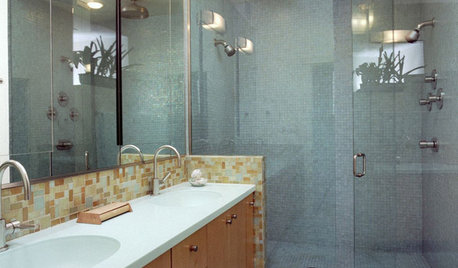
BATHROOM DESIGNThe No-Threshold Shower: Accessibility With Style
Go curbless between main bath and shower for an elegant addition to any home
Full Story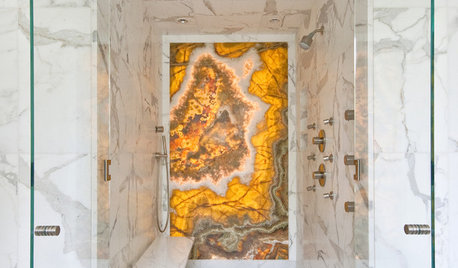
BATHROOM DESIGNHow to Build a Better Shower Curb
Work with your contractors and installers to ensure a safe, stylish curb that keeps the water where it belongs
Full Story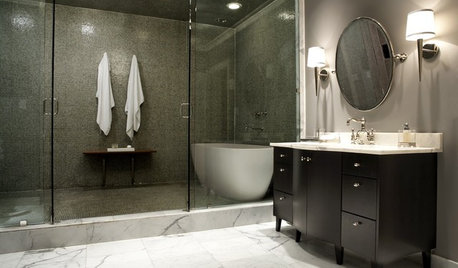
BATHROOM DESIGNHow to Choose Tile for a Steam Shower
In steamy quarters, tile needs to stand up to all that water and vapor in style. Here's how to get it right the first time
Full Story
UNIVERSAL DESIGNHouzz Tour: Universal Design Makes a Midcentury Home Accessible
More space for wheelchairs, easier access to appliances and a curbless shower fit a Seattle family's needs
Full Story
REMODELING GUIDESTop 10 Tips for Choosing Shower Tile
Slip resistance, curves and even the mineral content of your water all affect which tile is best for your shower
Full Story


User