


Kitchen Design & Layout Considerations
Buehl
7 years ago
last modified: 7 years ago
Featured Answer
Sort by:Oldest
Comments (7)

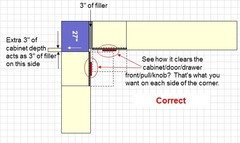
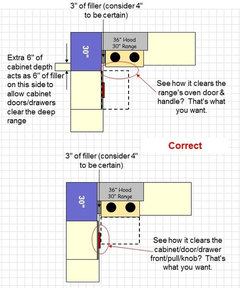
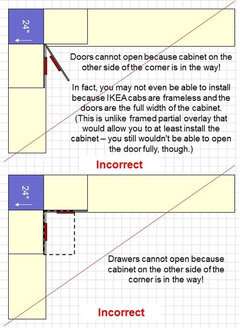
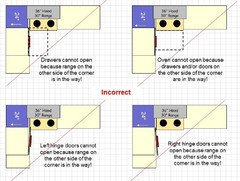
Buehl
7 years agolast modified: 7 years agoRelated Professionals
Fresno Kitchen & Bathroom Designers · Hybla Valley Kitchen & Bathroom Designers · Midvale Kitchen & Bathroom Designers · Cherry Hill Kitchen & Bathroom Designers · Minnetonka Mills Kitchen & Bathroom Remodelers · Bremerton Kitchen & Bathroom Remodelers · Oklahoma City Kitchen & Bathroom Remodelers · Spokane Kitchen & Bathroom Remodelers · Fairmont Kitchen & Bathroom Remodelers · Alafaya Cabinets & Cabinetry · Farmers Branch Cabinets & Cabinetry · Hammond Cabinets & Cabinetry · Tinton Falls Cabinets & Cabinetry · Edwards Tile and Stone Contractors · Riverdale Design-Build FirmsBuehl
5 years agolast modified: 5 years agoBuehl
5 years agoBuehl
5 years agolast modified: 5 years agoBuehl
5 years agolast modified: 5 years agoBuehl
5 years ago
Related Stories
BATHROOM DESIGN9 Surprising Considerations for a Bathroom Remodel
Don't even pick up a paint chip before you take these bathroom remodel aspects into account
Full Story
ADDITIONS10 Considerations for the Bedroom Addition of Your Dreams
Get the master bedroom you've always wanted by carefully considering views, access to the outdoors and more
Full Story
KITCHEN DESIGNHow to Design a Kitchen Island
Size, seating height, all those appliance and storage options ... here's how to clear up the kitchen island confusion
Full Story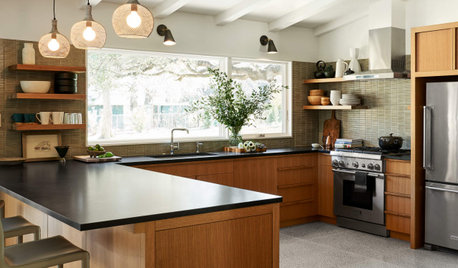
KITCHEN LAYOUTSHow to Plan the Perfect U-Shaped Kitchen
Get the most out of this flexible layout, which works for many room shapes and sizes
Full Story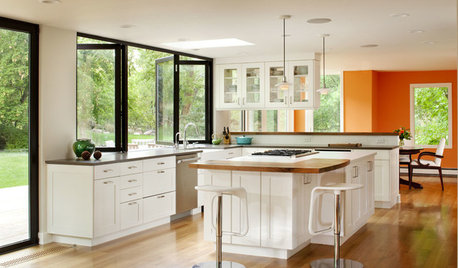
KITCHEN DESIGNDetermine the Right Appliance Layout for Your Kitchen
Kitchen work triangle got you running around in circles? Boiling over about where to put the range? This guide is for you
Full Story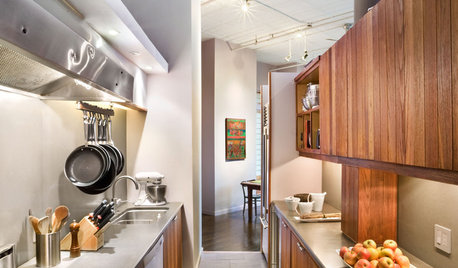
KITCHEN DESIGNKitchen Layouts: A Vote for the Good Old Galley
Less popular now, the galley kitchen is still a great layout for cooking
Full Story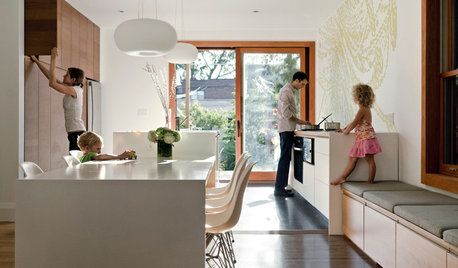
REMODELING GUIDES4 Key Space-Planning Considerations
Before you head full steam into a remodel or furniture update, heed this advice from the pros to put your space on the right track
Full Story
MODERN ARCHITECTUREThe Case for the Midcentury Modern Kitchen Layout
Before blowing out walls and moving cabinets, consider enhancing the original footprint for style and savings
Full Story
KITCHEN DESIGNIdeas for L-Shaped Kitchens
For a Kitchen With Multiple Cooks (and Guests), Go With This Flexible Design
Full Story
KITCHEN LAYOUTSThe Pros and Cons of 3 Popular Kitchen Layouts
U-shaped, L-shaped or galley? Find out which is best for you and why
Full Story

BuehlOriginal Author