


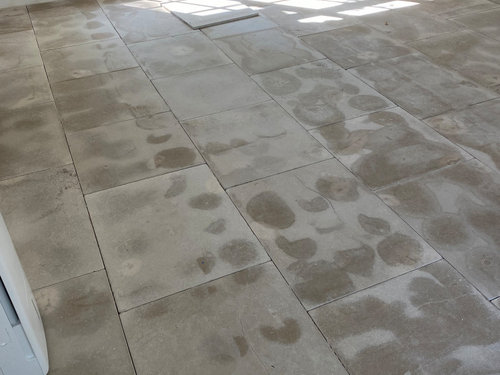
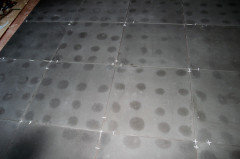
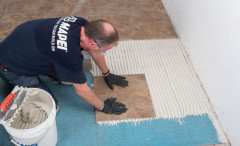
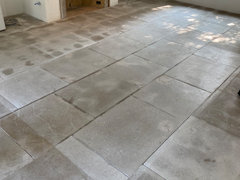
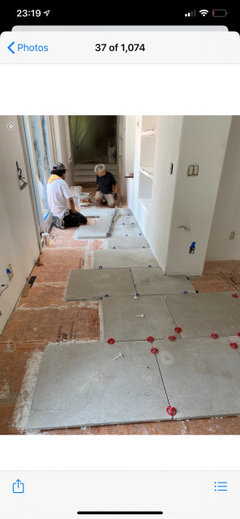
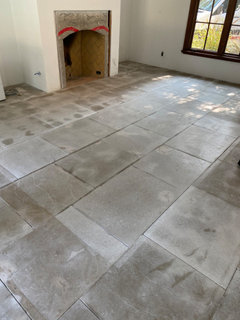
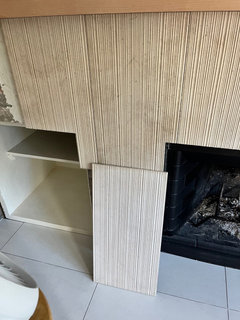
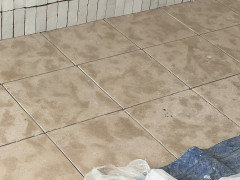
Limestone tile splotching won't dry
Maher Interiors
3 years ago

Featured Answer
Sort by:Oldest
Comments (46)
 PRO
PROBeth H. :
3 years agolast modified: 3 years ago
Maher Interiors
3 years agoRelated Professionals
Arlington Flooring Contractors · Lawndale Flooring Contractors · Medford Flooring Contractors · Roseville Flooring Contractors · DeSoto General Contractors · Glenn Dale General Contractors · Marinette General Contractors · Providence Architects & Building Designers · Little Chute Furniture & Accessories · Monroe General Contractors · Ravenna General Contractors · Queen Creek Kitchen & Bathroom Designers · Hanover Township Kitchen & Bathroom Remodelers · Cranford Cabinets & Cabinetry · Riverside Window TreatmentsMaher Interiors
3 years ago
Melissa R
3 years ago PRO
PROHALLETT & Co.
3 years agoMaher Interiors
3 years agoMaher Interiors
3 years ago
SJ McCarthy
3 years agoUser
3 years agolast modified: 3 years ago
Catherine Hrdy
3 years agoMaher Interiors
3 years agoCatherine Hrdy
3 years agoUser
3 years agoCatherine Hrdy
3 years ago PRO
PROMint tile Minneapolis
3 years agolast modified: 3 years ago- PRO
Beth H. :
3 years agolast modified: 3 years ago - PRO
Beth H. :
3 years agolast modified: 3 years ago  PRO
PROAvanti Tile & Stone / Stonetech
3 years agoCatherine Hrdy
3 years agoCatherine Hrdy
3 years ago- PRO
Avanti Tile & Stone / Stonetech
3 years ago - PRO
Beth H. :
3 years agolast modified: 3 years ago Catherine Hrdy
3 years ago PRO
PRODragonfly Tile & Stone Works, Inc.
3 years agolast modified: 3 years ago- PRO
Beth H. :
3 years ago Maher Interiors
3 years ago PRO
PROJoseph Corlett, LLC
3 years ago
millworkman
3 years ago- PRO
Beth H. :
3 years ago Maher Interiors
2 years agoWendy
last yearWendy
last yearMaher Interiors
last yearMaher Interiors
last yearMaher Interiors
last yearWendy
last yearPaul F.
last yearlast modified: last yearWendy
last yearWendy
last yearMaher Interiors
last yearMaher Interiors
last yearA S
7 months ago
Gillian Graves
last monthlast modified: last month PRO
PROMinardi
last monthmillworkman
last month


Related Stories
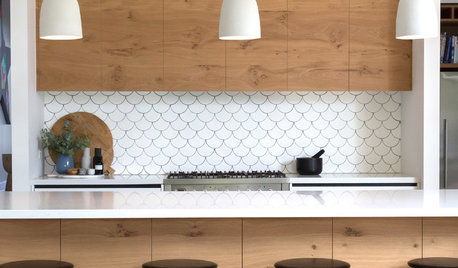
TILELet’s Talk Tile: An Alphabetical Guide to Tile Terminology
Get set for a tile project with this handy glossary of shapes, materials, finishes and more
Full Story
HOUSEKEEPINGHow to Clean Marble Countertops and Tile
Acidic solutions can damage your marble surfaces. Here’s how to keep marble looking clean and amazing
Full Story
TILEPorcelain vs. Ceramic Tile: A Five-Scenario Showdown
Explore where and why one of these popular tile choices makes more sense than the other
Full Story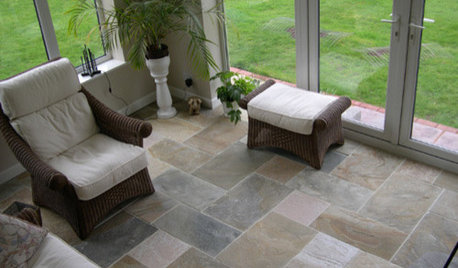
REMODELING GUIDESYour Floor: How to Find Right Stone Tile
Get the Pros and Cons of Slate, Travertine, Sandstone, Marble and Granite
Full Story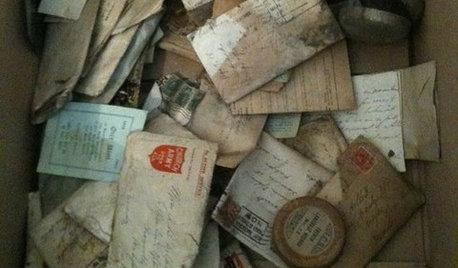
REMODELING GUIDESYou Won't Believe What These Homeowners Found in Their Walls
From the banal to the downright bizarre, these uncovered artifacts may get you wondering what may be hidden in your own home
Full Story
BATHROOM DESIGNFloor Tile Options for a Stylish Bathroom
From the countless choices of bathroom tile available, we focus on some of the best looks for the floor
Full Story
BATHROOM DESIGN10 Top Tips for Getting Bathroom Tile Right
Good planning is essential for bathroom tile that's set properly and works with the rest of your renovation. These tips help you do it right
Full Story
REMODELING GUIDESHouse Planning: How to Choose Tile
Glass, Ceramic, Porcelain...? Three Basic Questions Will Help You Make the Right Pick
Full Story
NEW THIS WEEK6 Small Bathrooms With Dramatic Walk-In Showers
In 65 square feet or less, these designers make big design statements using stylish tile and bold contrast
Full Story
REMODELING GUIDESWhy Marble Might Be Wrong for Your Bathroom
You love its beauty and instant high-quality appeal, but bathroom marble has its drawbacks. Here's what to know before you buy
Full Story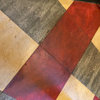


User