


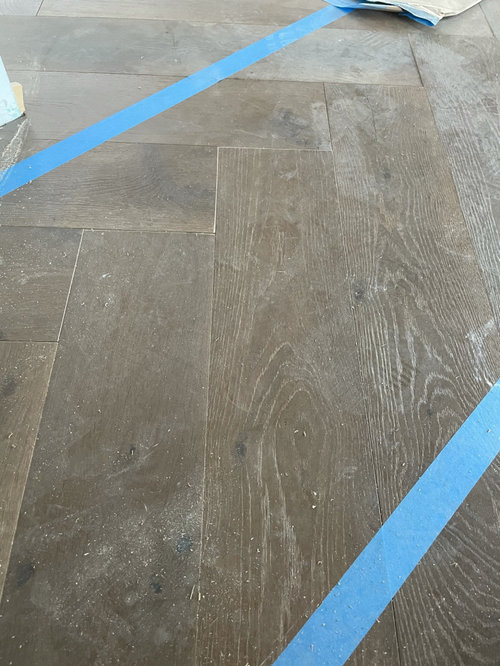
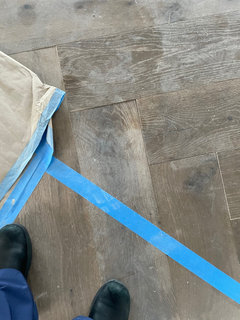
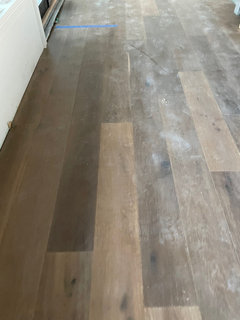
Is this unevenness normal in herringbone engineered wood floors?
Orchislily
3 years ago


Featured Answer
Sort by:Oldest
Comments (16)

Orchislily
3 years agoSJ McCarthy
3 years agoRelated Professionals
Troutdale Architects & Building Designers · Griffith Home Builders · Westmont Home Builders · Amarillo General Contractors · Coatesville General Contractors · Middletown General Contractors · National City General Contractors · Pocatello General Contractors · Albuquerque Flooring Contractors · Gladstone Tile and Stone Contractors · Countryside Carpet Dealers · Eagan General Contractors · Auburn General Contractors · Elmont General Contractors · Uniondale General Contractors PRO
PROG & S Floor Service
3 years agoOrchislily
3 years agoSJ McCarthy
3 years agoOrchislily
3 years agoSJ McCarthy
3 years agolast modified: 3 years agoOrchislily
3 years agoSJ McCarthy
3 years ago
WestCoast Hopeful
3 years ago- PRO
G & S Floor Service
3 years agolast modified: 3 years ago Orchislily
3 years agoSJ McCarthy
3 years agochispa
3 years agochispa
3 years ago


Related Stories
REMODELING GUIDESWhen to Use Engineered Wood Floors
See why an engineered wood floor could be your best choice (and no one will know but you)
Full Story
REMODELING GUIDESWhat to Know About Engineered Wood Floors
Engineered wood flooring offers classic looks and durability. It can work with a range of subfloors, including concrete
Full Story
FLOORSHow to Care for Engineered Wood Flooring
Keep your wood floor looking its best with these tips and tricks from the experts
Full Story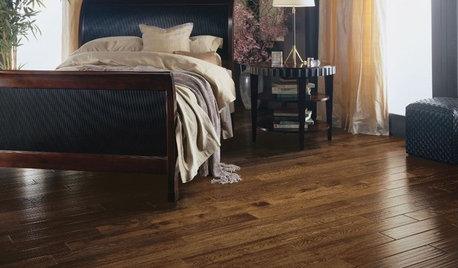
REMODELING GUIDESYour Floor: An Introduction to Solid-Plank Wood Floors
Get the Pros and Cons of Oak, Ash, Pine, Maple and Solid Bamboo
Full Story
REMODELING GUIDESLaminate Floors: Get the Look of Wood (and More) for Less
See what goes into laminate flooring and why you just might want to choose it
Full Story
REMODELING GUIDESDesigner Confessions: Torn Between Wood Floors
19 Photos to Help You Choose a Wood Floor Finish
Full Story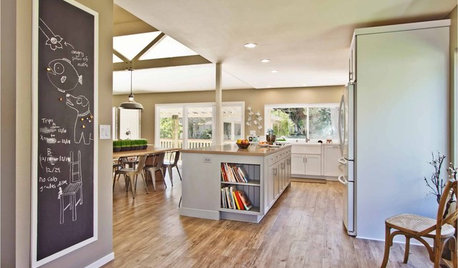
FLOORSWhat's the Right Wood Floor Installation for You?
Straight, diagonal, chevron, parquet and more. See which floor design is best for your space
Full Story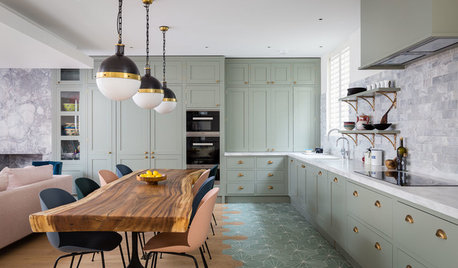
KITCHEN DESIGN13 Alternatives to Plain Wood Flooring in the Kitchen
Graphic patterns, surprising transitions and unexpected materials make these kitchen floors stand out
Full Story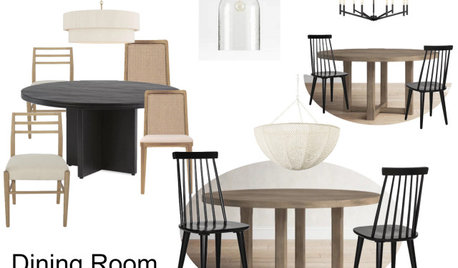
REMODELING GUIDESWood Floor Care: Polish Your Skills
Help your wood floors stay gorgeous by learning how to keep stains, dullness and warping at bay
Full Story
More Discussions


OrchislilyOriginal Author