


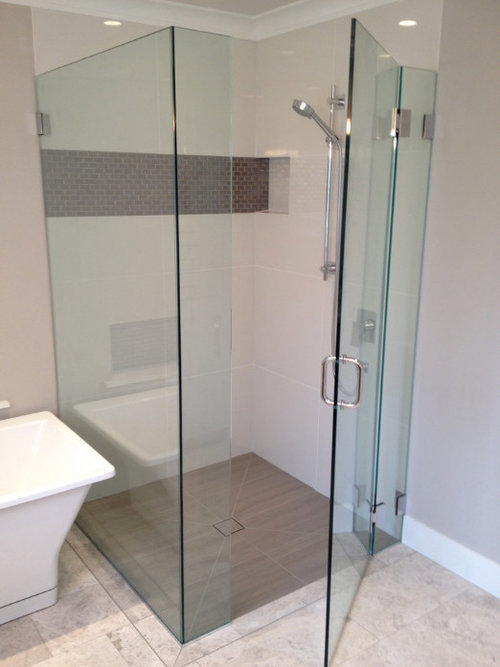
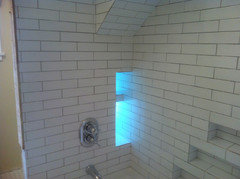
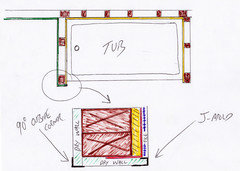
Tile to Wall Transitions - A Seamless Approach
By Any Design Ltd.
10 years ago
Featured Answer
Sort by:Oldest
Comments (79)
 PRO
PROBy Any Design Ltd.
10 years ago- PRO
By Any Design Ltd.
10 years ago Related Professionals
Ann Arbor Architects & Building Designers · Artesia General Contractors · Bellingham General Contractors · Brownsville General Contractors · Evans General Contractors · Greenville General Contractors · Haysville General Contractors · Lakeside General Contractors · Mount Vernon General Contractors · North Tustin General Contractors · Rancho Cordova General Contractors · Saint Andrews General Contractors · Stillwater General Contractors · Boise Interior Designers & Decorators · River Forest Landscape Architects & Landscape Designers- PRO
By Any Design Ltd.
10 years ago - PRO
By Any Design Ltd.
10 years ago - PRO
By Any Design Ltd.
10 years ago - PRO
By Any Design Ltd.
10 years ago - PRO
By Any Design Ltd.
10 years ago 
krinic
10 years ago- PRO
By Any Design Ltd.
10 years ago slooper2
10 years agolast modified: 10 years ago- PRO
By Any Design Ltd.
10 years ago slooper2
10 years ago- PRO
By Any Design Ltd.
10 years ago slooper2
10 years agoslooper2
10 years ago- PRO
By Any Design Ltd.
10 years ago - PRO
By Any Design Ltd.
9 years ago - PRO
By Any Design Ltd.
9 years ago ccfoys
9 years ago- PRO
By Any Design Ltd.
9 years ago - PRO
By Any Design Ltd.
9 years ago - PRO
By Any Design Ltd.
9 years ago 
punkarella
9 years ago- PRO
By Any Design Ltd.
9 years ago punkarella
9 years agolast modified: 9 years ago- PRO
By Any Design Ltd.
9 years ago punkarella
9 years ago- PRO
By Any Design Ltd.
9 years ago - PRO
By Any Design Ltd.
9 years ago - PRO
By Any Design Ltd.
9 years ago - PRO
By Any Design Ltd.
9 years ago - PRO
By Any Design Ltd.
9 years ago sheepdisease
9 years ago- PRO
By Any Design Ltd.
9 years ago sheepdisease
9 years ago- PRO
By Any Design Ltd.
9 years ago - PRO
By Any Design Ltd.
9 years ago - PRO
By Any Design Ltd.
9 years ago - PRO
By Any Design Ltd.
9 years ago - PRO
By Any Design Ltd.
9 years ago - PRO
By Any Design Ltd.
9 years ago - PRO
By Any Design Ltd.
8 years ago - PRO
By Any Design Ltd.
8 years agolast modified: 8 years ago - PRO
By Any Design Ltd.
8 years agolast modified: 8 years ago smilingalready
8 years ago
Alisha Horneff
7 years agostephrbrown74
7 years agoslooper2
7 years ago
H Briz
3 years ago


Related Stories
TILEA Finishing Touch for Your Tile Walls and Floors
See how tile-edging trim adds graphic style to five bathrooms and kitchens
Full Story
REMODELING GUIDES11 Reasons to Love Wall-to-Wall Carpeting Again
Is it time to kick the hard stuff? Your feet, wallet and downstairs neighbors may be nodding
Full Story
REMODELING GUIDES20 Great Examples of Transitions in Flooring
Wood in One Room, Tile or Stone in Another? Here's How to Make Them Work Together
Full Story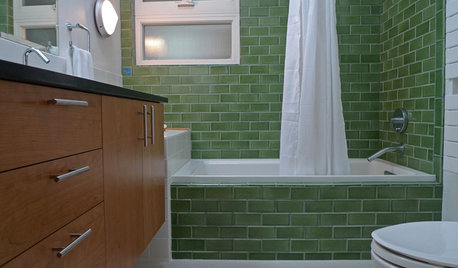
BATHROOM DESIGNBathroom Surfaces: Ceramic Tile Pros and Cons
Learn the facts on this popular material for bathroom walls and floors, including costs and maintenance needs, before you commit
Full Story
MATERIALSShape Up Your Surfaces With New Tile Textures and Forms
Take your walls and floors to a different dimension with innovative sculptural tiles, as shown at the 2013 Coverings expo
Full Story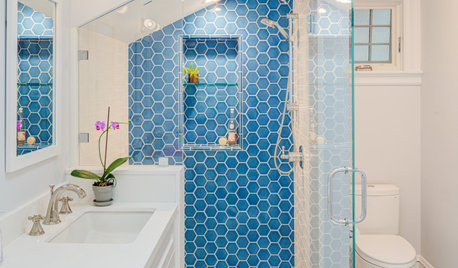
BATHROOM DESIGN10 Eye-Catching Bathroom Accent Walls
Well-chosen expanses of tile and unexpected texture make these feature walls shine
Full Story
DECORATING GUIDESFrom the Pros: How to Paint Interior Walls
A slapdash approach can lower a room's entire look, so open your eyes to this wise advice before you open a single paint can
Full Story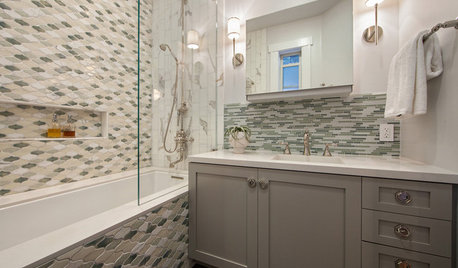
BEFORE AND AFTERSRoom of the Day: Tile Patterns Mix It Up in a Master Bath
Contemporary and classic elements mix in a boldly detailed San Francisco bathroom makeover
Full Story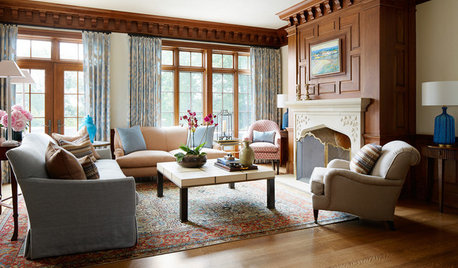
LIVING ROOMSNew This Week: 5 Great Transitional-Style Living Rooms
Find middle ground by blending the formal comfort of traditional style with the casual cool of contemporary
Full Story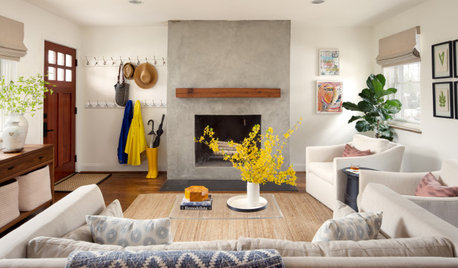
NEW THIS WEEKNew This Week: 7 Stylish Fireplaces in Transitional Living Rooms
See how various designers tackle the hearth and surround to create a refreshing focal point
Full Story


By Any Design Ltd.Original Author