


Final sanding of soapstone, expert tips anyone?
don_chuwish
16 years ago
Sort by:Oldest
Comments (9)
Related Stories

FARM YOUR YARDHow to Grow Vegetables in Containers
Get glorious vegetables and fruits on your patio with a pro’s guidance — including his personal recipe for potting mix
Full Story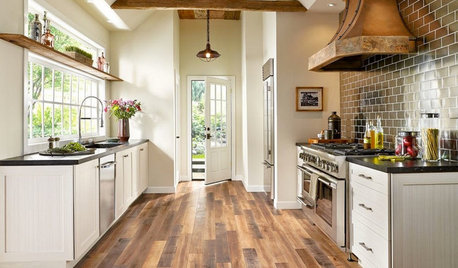
MOST POPULARPros and Cons of 5 Popular Kitchen Flooring Materials
Which kitchen flooring is right for you? An expert gives us the rundown
Full Story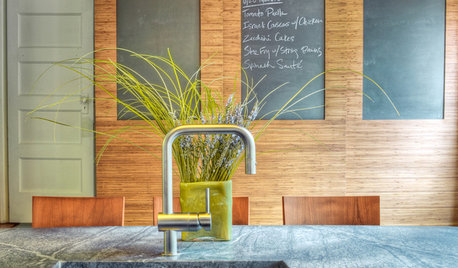
KITCHEN DESIGNKitchen Counters: Durable, Easy-Clean Soapstone
Give bacteria the boot and say sayonara to stains with this long-lasting material that's a great choice for kitchen and bath countertops
Full Story
KITCHEN COUNTERTOPS10 Top Backsplashes to Pair With Soapstone Countertops
Simplify your decision-making process by checking out how these styles work with soapstone
Full Story
SMALL HOMESAsk an Expert: What Is Your Ultimate Space-Saving Trick?
Houzz professionals share their secrets for getting more from any space, small or large
Full Story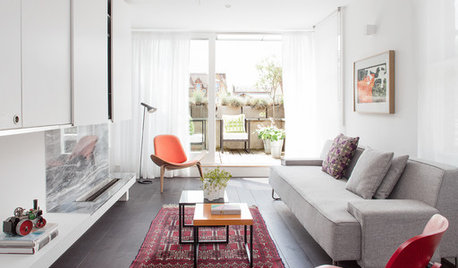
DECORATING GUIDESAsk an Expert: How to Decorate a Long, Narrow Room
Distract attention away from an awkward room shape and create a pleasing design using these pro tips
Full Story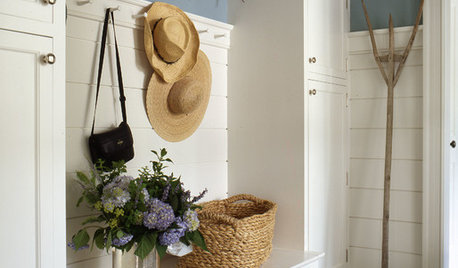
MUDROOMSThe Cure for Houzz Envy: Mudroom Touches Anyone Can Do
Make a utilitarian mudroom snazzier and better organized with these cheap and easy ideas
Full Story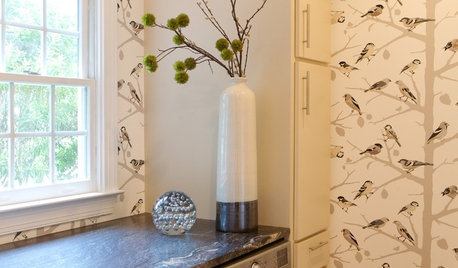
LAUNDRY ROOMSThe Cure for Houzz Envy: Laundry Room Touches Anyone Can Do
Make fluffing and folding more enjoyable by borrowing these ideas from beautifully designed laundry rooms
Full Story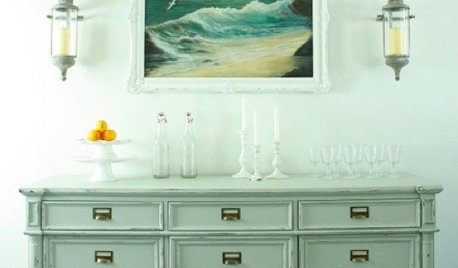
DECORATING GUIDESThe Cure for Houzz Envy: Dining Room Touches Anyone Can Do
Get a decorator-style dining room on the cheap with inexpensive artwork, secondhand furniture and thoughtful accessories
Full Story
REMODELING GUIDESContractor Tips: How to Install Tile
Before you pick up a single tile, pull from these tips for expert results
Full Story


bayareafrancy
kevinb_flyguy
Related Professionals
Gainesville Kitchen & Bathroom Designers · Saint Charles Kitchen & Bathroom Designers · South Farmingdale Kitchen & Bathroom Designers · Olympia Heights Kitchen & Bathroom Designers · Normal Kitchen & Bathroom Remodelers · Andover Kitchen & Bathroom Remodelers · Honolulu Kitchen & Bathroom Remodelers · Islip Kitchen & Bathroom Remodelers · Jacksonville Kitchen & Bathroom Remodelers · Payson Kitchen & Bathroom Remodelers · South Park Township Kitchen & Bathroom Remodelers · Southampton Kitchen & Bathroom Remodelers · Palisades Park Cabinets & Cabinetry · Ardmore Tile and Stone Contractors · Foster City Tile and Stone Contractorscooperbailey
don_chuwishOriginal Author
sombreuil_mongrel
bayareafrancy
kevinb_flyguy
don_chuwishOriginal Author
don_chuwishOriginal Author