


Varnish with a paint roller?
franksmom_2010
13 years ago
Sort by:Oldest
Comments (7)
Related Stories

PAINTINGWhat to Know About Milk Paint and Chalk Paint — and How to Use Them
Learn the pros, cons, cost and more for these two easy-to-use paints that are great for giving furniture a vintage look
Full Story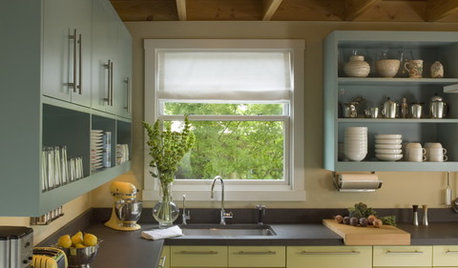
MOST POPULAR8 Great Kitchen Cabinet Color Palettes
Make your kitchen uniquely yours with painted cabinetry. Here's how (and what) to paint them
Full Story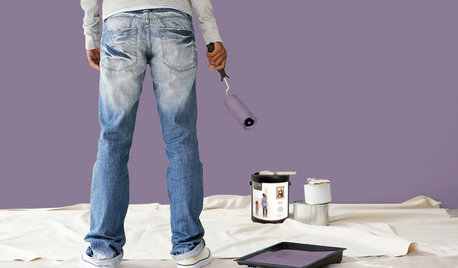
PAINTINGBulletproof Decorating: How to Pick the Right Kind of Paint
Choose a paint with some heft and a little sheen for walls and ceilings with long-lasting good looks. Here are some getting-started tips
Full Story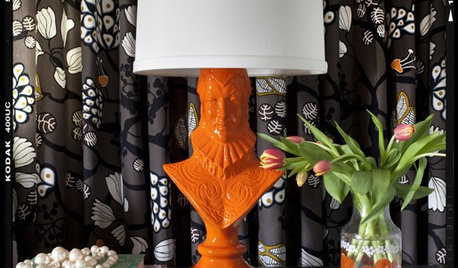
DECORATING GUIDESKeep Things Fresh With a Bright Lacquer Finish
Go From Ho-Hum to Instant Glam With a Coat or Two of Glossy, Colorful Varnish
Full Story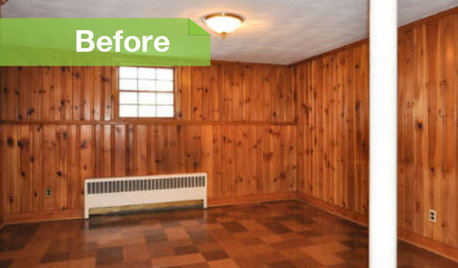
PAINTINGKnotty to Nice: Painted Wood Paneling Lightens a Room's Look
Children ran from the scary dark walls in this spare room, but white paint and new flooring put fears and style travesties to rest
Full Story
DIY PROJECTSCool Tip: Mimic Stain With a DIY Color Wash
Get the look of an oil-based stain without all the bother, using this easy wash made with paint
Full Story
CURB APPEALDIY Painting Project: A Colorful Front Door
Give your entrance a notice-me new hue to make it inviting and energizing for fall
Full Story
DIY PROJECTSUpcycle Furniture Finds With Paint
There are products out there designed to help you transform your thrift-store scores
Full Story
FLOORSHow to Paint Your Hardwood Floors
Know how to apply nail polish? Then you can give your wooden floors a brand-new look
Full Story
PRODUCT PICKSGuest Picks: Handy Finds for Painting Projects of All Kinds
Make over rooms and furniture more easily and with better results with the right paint and gear
Full StorySponsored
More Discussions
luvstocraft
kraftymom
Related Professionals
Midland Furniture & Accessories · Silver Spring Furniture & Accessories · Woodstock Furniture & Accessories · Lake Magdalene Furniture & Accessories · Cottage Grove Painters · Greeneville Painters · Lompoc Painters · Pleasant Hill Painters · Rockville Painters · Shaker Heights Painters · Shelton Painters · Tomball Painters · Vestavia Hills Painters · Springdale Painters · Mokena Custom Countertopsfranksmom_2010Original Author
kraftymom
phonegirl
franksmom_2010Original Author
luvstocraft