


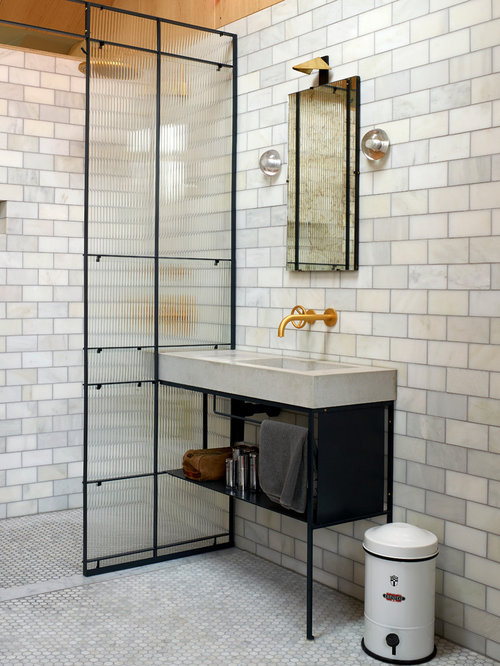
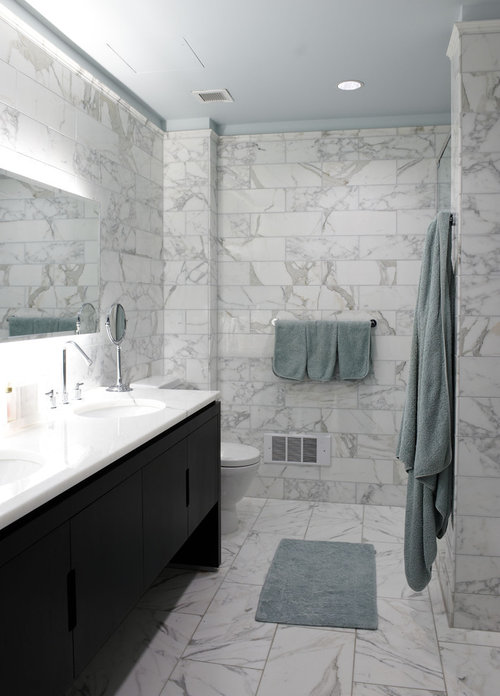
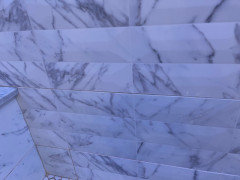
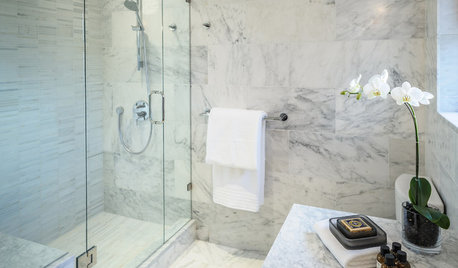
Urgent help: 1/16" vs. 1/8" grout for bathroom tiles?
ljohnson04
7 years ago


Featured Answer
Sort by:Oldest
Comments (19)
Related Professionals
Gloucester City Interior Designers & Decorators · Brushy Creek Architects & Building Designers · Clive Architects & Building Designers · West Palm Beach Architects & Building Designers · Bethpage Kitchen & Bathroom Designers · Brownsville Kitchen & Bathroom Designers · Boston Furniture & Accessories · Kearny Furniture & Accessories · Stamford Furniture & Accessories · Annandale General Contractors · Brighton General Contractors · Coffeyville General Contractors · Lakeside General Contractors · Parkersburg General Contractors · Rotterdam General Contractors
ljohnson04
7 years ago PRO
PROMint tile Minneapolis
7 years agolast modified: 7 years agoljohnson04 thanked Mint tile Minneapolis PRO
PROCinar Interiors, Inc.
7 years agolast modified: 7 years agoljohnson04 thanked Cinar Interiors, Inc.ljohnson04
7 years agolast modified: 7 years agohkwan
3 years ago PRO
PROGN Builders L.L.C
3 years agohkwan
3 years agohkwan
3 years ago- PRO
GN Builders L.L.C
3 years ago hkwan
3 years ago- PRO
GN Builders L.L.C
3 years ago - PRO
Mint tile Minneapolis
3 years ago hkwan
3 years agodiydude1776
3 years ago


Related Stories
BATHROOM DESIGNConvert Your Tub Space Into a Shower — the Tiling and Grouting Phase
Step 3 in swapping your tub for a sleek new shower: Pick the right tile and test it out, then choose your grout color and type
Full Story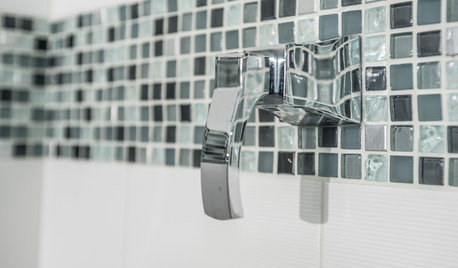
TILE3 Key Steps for Grouting That Looks Its Best
Get your grout right to keep your tile beautiful and for an installation that will last
Full Story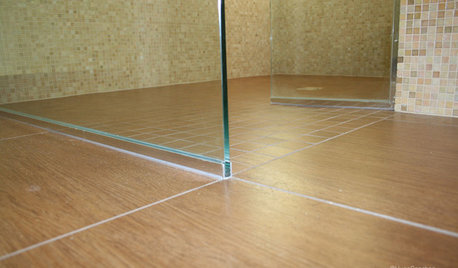
TILEEpoxy vs. Cement Grout — What's the Difference?
Grout is grout, right? Nope. Cement and epoxy versions have different appearances, durability and rules of installation
Full Story
REMODELING GUIDES9 Ways Grout–Yes, Grout–Can Add to Your Design
Choose From a Palette of Grout Colors for a Warm, Unified Look
Full Story
BATHROOM WORKBOOKStandard Fixture Dimensions and Measurements for a Primary Bath
Create a luxe bathroom that functions well with these key measurements and layout tips
Full Story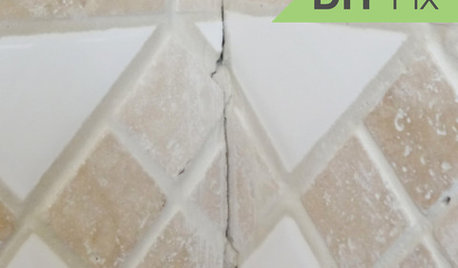
BATHROOM TILEQuick Fix: Repair Cracked Bathroom Grout
Banish an eyesore and safeguard your bathroom from water damage in 30 minutes or less with this DIY repair
Full Story
KITCHEN DESIGNSubway Tile Picks Up Gray Grout
Heading into darker territory, subway tile offers a graphic new look for kitchens, bathrooms and more
Full Story
UNIVERSAL DESIGNMy Houzz: Universal Design Helps an 8-Year-Old Feel at Home
An innovative sensory room, wide doors and hallways, and other thoughtful design moves make this Canadian home work for the whole family
Full Story
HOUSEKEEPINGHow to Clean Grout — Stains and All
If your grout is grossing you out, this deep-cleaning method will help it look new again
Full Story
SELLING YOUR HOUSE10 Tricks to Help Your Bathroom Sell Your House
As with the kitchen, the bathroom is always a high priority for home buyers. Here’s how to showcase your bathroom so it looks its best
Full StoryMore Discussions


GN Builders L.L.C