


Repairing a Textured Drywall Ceiling
toxcrusadr
6 years ago
last modified: 6 years ago
Sort by:Oldest
Comments (4)
Related Stories
REMODELING GUIDESRenovation Detail: Tongue and Groove Ceilings
As camouflage for damaged surfaces or simply for their rich texture and beauty, tongue and groove ceilings create high impact
Full Story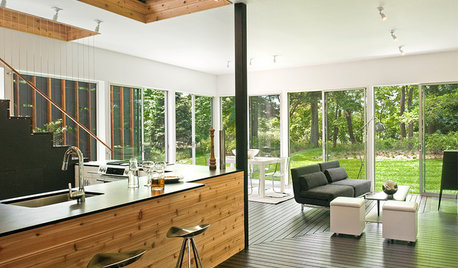
CEILINGSBreak Up a Bland Ceiling the Modern Way
Banish a boring drywall ceiling by using these techniques to create architectural interest
Full Story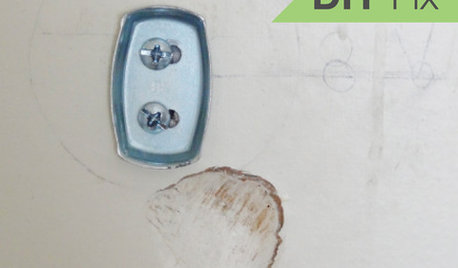
HOUSEKEEPINGQuick Fix: How to Patch a Drywall Hole
Dents and dings disappear, leaving your walls looking brand new, with this fix that even a novice can do
Full Story

MATERIALSRaw Materials Revealed: Drywall Basics
Learn about the different sizes and types of this construction material for walls, plus which kinds work best for which rooms
Full Story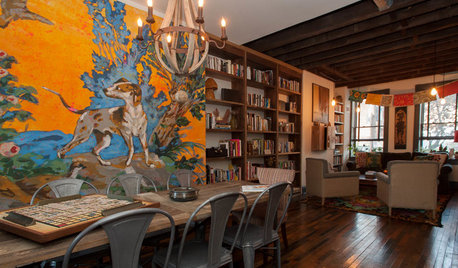
ECLECTIC HOMESMy Houzz: Color and Texture Fill an Eclectic Pittsburgh Row House
Moroccan touches join exposed brick, salvaged materials and scads of books in this home for a creative couple
Full Story
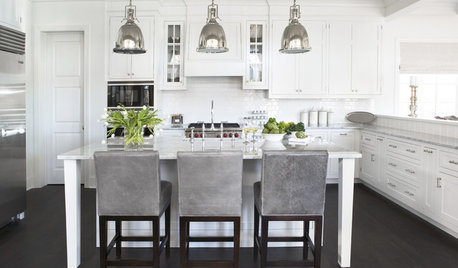
MOST POPULARHeads-Up Hues: 10 Bold Ceiling Colors
Visually raise or lower a ceiling, or just add an eyeful of interest, with paint from splashy to soothing
Full Story
COLOR11 Reasons to Paint Your Ceiling Black
Mask flaws, trick the eye, create drama ... a black ceiling solves a host of design dilemmas while looking smashing
Full Story
WOODKnotty and Nice: Highly Textured Wood Has a Modern Revival
Whether it's cedar, fir or pine, if a wood has a knot, it's hot
Full Story
DECORATING GUIDES11 Tricks to Make a Ceiling Look Higher
More visual height is no stretch when you pick the right furniture, paint and lighting
Full StoryMore Discussions


klem1
woodbutcher_ca
Related Professionals
Cloverly Kitchen & Bathroom Remodelers · Calverton Kitchen & Bathroom Remodelers · Shawnee Kitchen & Bathroom Remodelers · Forest Hills Kitchen & Bathroom Remodelers · Shaker Heights General Contractors · Chesapeake Painters · Columbus Painters · Del Aire Painters · Lansing Painters · Madison Painters · Norwalk Painters · Ripon Painters · Shrewsbury Painters · Stafford Painters · Springdale PainterstoxcrusadrOriginal Author
klem1