


Crazy BR Vanity Prices!
John 9a
21 days ago
Featured Answer
Sort by:Oldest
Comments (7)
 PRO
PROMinardi
21 days ago
John 9a
20 days agoRelated Professionals
Pike Creek Valley Kitchen & Bathroom Designers · Honolulu Kitchen & Bathroom Remodelers · Hartford General Contractors · Holly Hill General Contractors · Kentwood General Contractors · Medford General Contractors · Arcadia Kitchen & Bathroom Designers · Four Corners Kitchen & Bathroom Designers · Manchester Kitchen & Bathroom Designers · Soledad Kitchen & Bathroom Designers · Sicklerville Kitchen & Bathroom Remodelers · Vallejo Glass & Shower Door Dealers · Tacoma Cabinets & Cabinetry · Whitney Cabinets & Cabinetry · Brenham Window TreatmentsJohn 9a
16 days ago- PRO
Zumi
11 days ago John 9a
10 days ago

Related Stories
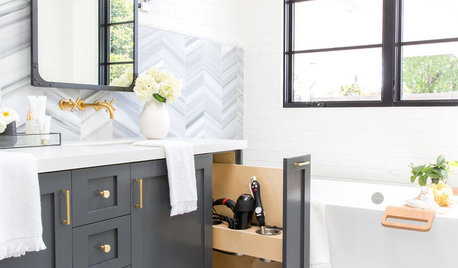
BATHROOM VANITIESHow to Pick Out a Bathroom Vanity
Choose the right materials, style and size for a vanity that fits your bathroom and works for your needs
Full Story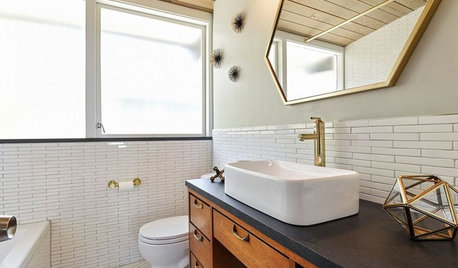
BATHROOM VANITIES30 Furniture-to-Vanity Conversions You’ve Got to See
Readers share costs and how-to details on their cherished one-of-a-kind bathroom vanities
Full Story
BATHROOM DESIGNHow to Know if an Open Bathroom Vanity Is for You
Ask yourself these questions to learn whether you’d be happy with a vanity that has open shelves
Full Story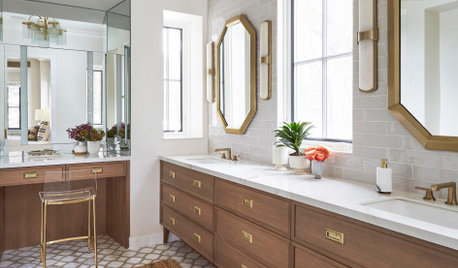
BATHROOM WORKBOOKA Step-by-Step Guide to Designing Your Bathroom Vanity
Here are six decisions to make with your pro to get the best vanity layout, look and features for your needs
Full Story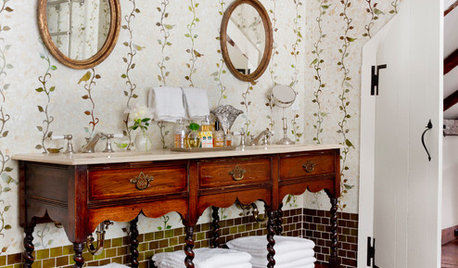
MOST POPULARYou Can Turn That Into a Bathroom Vanity?
Find inspiration in 13 unconventional bathroom vanities that are as functional as the real deal
Full Story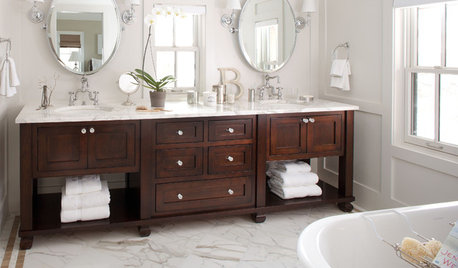
BATHROOM DESIGNBathroom Design: Getting Tile Around the Vanity Right
Prevent water damage and get a seamless look with these pro tips for tiling under and around a bathroom vanity
Full Story
BATHROOM WORKBOOK12 Ways to Get a Luxe Bathroom Look for Less
Your budget bathroom can have a high-end feel with the right tile, stone, vanity and accessories
Full Story
KITCHEN COUNTERTOPSWhat’s the Difference Between Quartzite and Quartz Countertops?
Weigh the pros and cons of these popular kitchen countertop materials
Full Story
DECORATING GUIDES28 Design Ideas Coming to Homes Near You in 2017
Set to go big: Satin brass, voice assistants, vanity conversions, spring green and more
Full Story
KITCHEN DESIGNKitchen Counters: Durable, Easy-Clean Soapstone
Give bacteria the boot and say sayonara to stains with this long-lasting material that's a great choice for kitchen and bath countertops
Full Story


eld6161