


Pics of my Photo/Art Wall
gobruno
12 years ago

Sort by:Oldest
Comments (4)
Related Stories
DECORATING GUIDES10 Ways Photos Can Make a Room
Keep your favorite views forever with a fresh take on a photo wall
Full Story
DECORATING GUIDES20 Great Ways to Display Family Photos
Turn Some Favorite Memories Into an Art Wall You'll Cherish
Full Story
GREAT HOME PROJECTSHow to Design a Family Photo Wall
New project for a new year: Display your favorite images of loved ones for the most personal gallery wall of all
Full Story
ART10 Simple Ways to Display and Enjoy Printed Photos
Are your photos lost in limbo on your electronic devices? Bring them out into the open with these viewing-friendly ideas
Full Story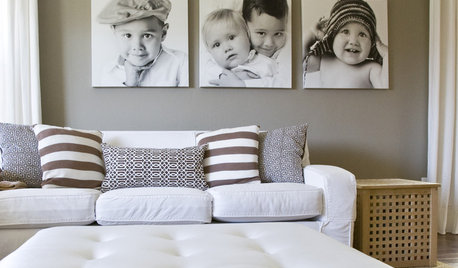
DECORATING PROJECTSFill a Blank Wall on a Beer Budget
Tap your fabric bin, photo box or any kid for art that’s easy, personal and hecka cheap
Full Story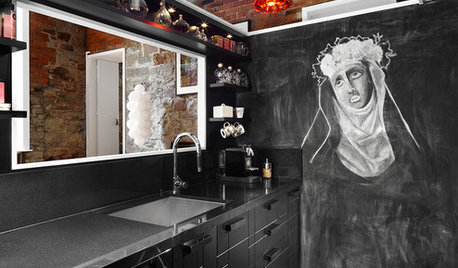
WALL TREATMENTSThe Best Chalkboard Wall Art on Houzz
Who knew Houzzers could be so artistic with a little chalk? We did
Full Story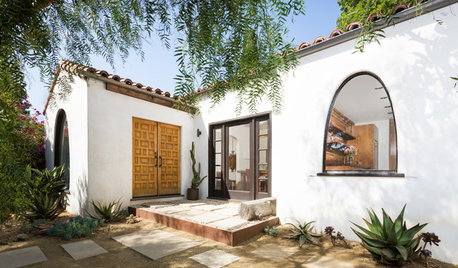
BEFORE AND AFTERSHouzz TV: See Recycled Walls and Cool Cassette Art in a Woodsy DIY Home
Walnut countertops join hardwood floors and pieces made from leftover framing in a bright Spanish colonial
Full Story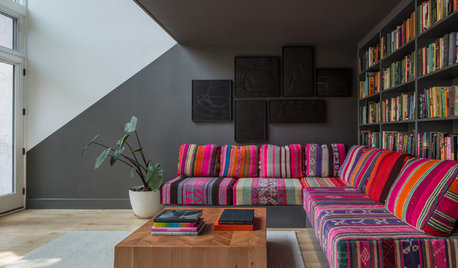
COLORCase Study: Turn Your Wall Colors Into Art
Give your walls an artistic edge with creative color blocking that complements your architecture
Full Story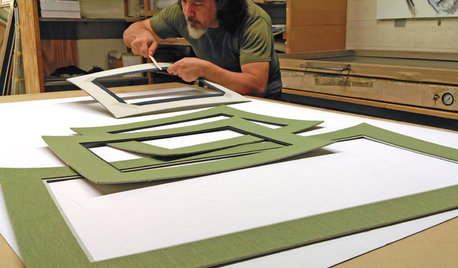
ARTYour Guide to Custom-Framing Photos and Art
Get the lowdown on framing materials, methods and more
Full StorySponsored
Leading Interior Designers in Columbus, Ohio & Ponte Vedra, Florida
More Discussions


kristinekr
Olychick
Related Professionals
Bel Air North Interior Designers & Decorators · Bloomingdale Interior Designers & Decorators · Chicago Furniture & Accessories · Denver Furniture & Accessories · St. Louis Furniture & Accessories · Toledo Furniture & Accessories · Fountainebleau Furniture & Accessories · Wakefield Furniture & Accessories · Southchase Custom Artists · Glendale Lighting · University Lighting · Antioch Window Treatments · Aurora Window Treatments · New Baltimore Window Treatments · San Jose Window TreatmentsBoopadaboo
gobrunoOriginal Author