


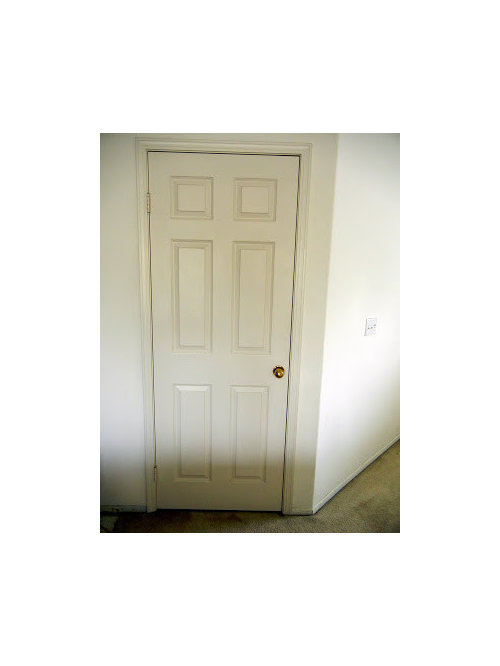
replace door casings along w/ flooring & baseboards? (pics)
andersons21
12 years ago

Featured Answer
Sort by:Oldest
Comments (13)

Fori
12 years agoRelated Professionals
Glens Falls Kitchen & Bathroom Designers · Ocala Kitchen & Bathroom Designers · Cleveland Kitchen & Bathroom Remodelers · Emeryville Kitchen & Bathroom Remodelers · Fremont Kitchen & Bathroom Remodelers · Hunters Creek Kitchen & Bathroom Remodelers · Joppatowne Kitchen & Bathroom Remodelers · Arkansas Interior Designers & Decorators · Arlington General Contractors · Pooler General Contractors · Bryan General Contractors · Goldenrod General Contractors · Ken Caryl General Contractors · Meadville General Contractors · Walnut Park General Contractors
andersons21
12 years agosombreuil_mongrel
12 years ago
worthy
12 years agoandersons21
12 years agoandersons21
12 years ago
millworkman
12 years agosombreuil_mongrel
12 years agoworthy
12 years ago
weedyacres
12 years agoEngineerChic
12 years agoandersons21
12 years ago
Related Stories
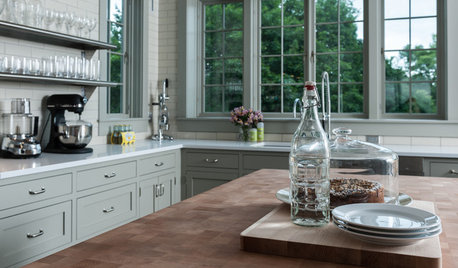
MOST POPULARKitchen Evolution: Work Zones Replace the Triangle
Want maximum efficiency in your kitchen? Consider forgoing the old-fashioned triangle in favor of task-specific zones
Full Story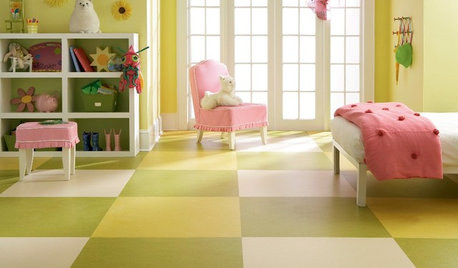
REMODELING GUIDESThe Case for Linoleum and Vinyl Floors
Have pets, kids and a tight budget? Easy-care resilient floors may be the choice for you
Full StoryDECORATING GUIDESThe Case for the Anti-Accent Wall
Go ahead, paint everything the same color (even the trim)
Full Story
BATHROOM DESIGNThe Case for a Curbless Shower
A Streamlined, Open Look is a First Thing to Explore When Renovating a Bath
Full Story
BATHROOM DESIGNBath Remodeling: So, Where to Put the Toilet?
There's a lot to consider: paneling, baseboards, shower door. Before you install the toilet, get situated with these tips
Full Story
DESIGN DETAILSDesign Workshop: The Modern Wall Base, 4 Ways
Do you really need baseboards? Contemporary design provides minimalist alternatives to the common intersection of floor and wall
Full Story
REMODELING GUIDESThe Case for Waiting to Remodel
We know, you're excited to make your home match your vision. But your vision may change once you've lived there awhile
Full Story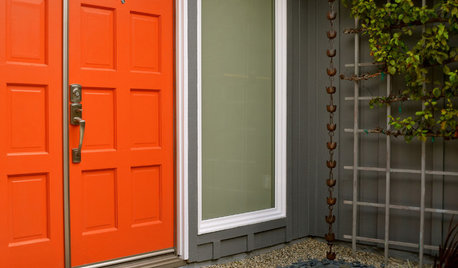
MOST POPULARHow to Choose a Front Door Color
If choosing a door paint isn't an open-and-shut case for you, here's help
Full Story
DECORATING GUIDESThe Case for In-Between Colors
These mutable hues defy easy description, but their appeal all around the home isn't hard to get
Full Story
ORGANIZINGThe Case for Hidden Storage
Imagine how much more peaceful your home would feel with cleared surfaces. And that’s just one reason to stow your supplies
Full Story
worthy