


space-cadet question re Tapla cutting technique
Need2SeeGreen 10 (SoCal)
3 years ago
Featured Answer
Sort by:Oldest
Comments (19)
Related Professionals
Ferndale Landscape Architects & Landscape Designers · Newnan Landscape Contractors · Dover Solar Energy Systems · Costa Mesa Window Contractors · Kearns Window Contractors · North Miami Beach Fence Contractors · Tomball Landscape Architects & Landscape Designers · Avocado Heights Landscape Contractors · Belvedere Park Landscape Contractors · Cockeysville Landscape Contractors · Homewood Landscape Contractors · Indio Landscape Contractors · New Cassel Landscape Contractors · University City Landscape Contractors · Linton Hall Interior Designers & Decorators
Need2SeeGreen 10 (SoCal)
3 years ago
tapla (mid-Michigan, USDA z5b-6a)
3 years agoNeed2SeeGreen 10 (SoCal) thanked tapla (mid-Michigan, USDA z5b-6a)Need2SeeGreen 10 (SoCal)
3 years agoNeed2SeeGreen 10 (SoCal)
3 years agoNeed2SeeGreen 10 (SoCal)
3 years agoUser
3 years agotapla (mid-Michigan, USDA z5b-6a)
3 years agoNeed2SeeGreen 10 (SoCal) thanked tapla (mid-Michigan, USDA z5b-6a)Need2SeeGreen 10 (SoCal)
3 years ago

Related Stories
LIGHTING5 Questions to Ask for the Best Room Lighting
Get your overhead, task and accent lighting right for decorative beauty, less eyestrain and a focus exactly where you want
Full Story
KITCHEN DESIGNDream Spaces: 12 Beautiful White Kitchens
Snowy cabinets and walls speak to a certain elegance, while marble counters whisper of luxury
Full Story
LANDSCAPE DESIGN10 Questions to Ask a Landscape Designer
Discover how to choose the best designer for your yard and avoid surprises down the line
Full Story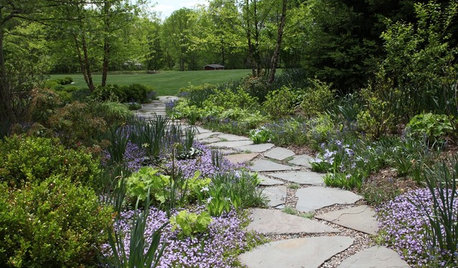
EARTH DAY6 Projects to Create Beautiful, Water-Saving Outdoor Spaces
Find out how to replace your lawn with a garden, make your landscape more permeable, install a greywater system and more
Full Story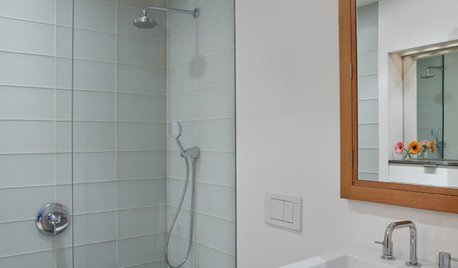
BATHROOM DESIGNConvert Your Tub Space to a Shower — the Planning Phase
Step 1 in swapping your tub for a sleek new shower: Get all the remodel details down on paper
Full Story
SELLING YOUR HOUSEHome Staging to Sell: The Latest Techniques That Really Work
Get up to speed on the best ways to appeal to potential buyers through accessories, furniture, colors and more
Full Story
FEEL-GOOD HOMEThe Question That Can Make You Love Your Home More
Change your relationship with your house for the better by focusing on the answer to something designers often ask
Full Story
PETSSo You're Thinking About Getting a Dog
Prepare yourself for the realities of training, cost and the impact that lovable pooch might have on your house
Full Story
EXTERIORSCurb Appeal Feeling a Little Off? Some Questions to Consider
Color, scale, proportion, trim ... 14 things to think about if your exterior is bugging you
Full Story
STORAGE10 Ways to Get More Storage Out of Your Space
Just when you think you can’t possibly fit all your stuff, these storage ideas come to the rescue
Full StoryMore Discussions
tropicofcancer (6b SW-PA)