


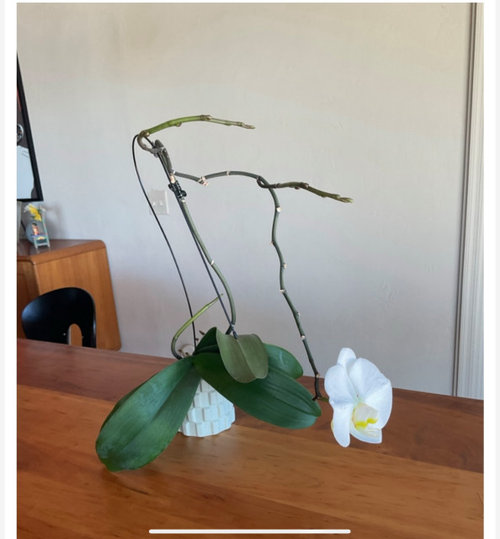
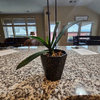
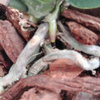
New spikes and terminal spike on orchid.
flopsycat1
2 months ago
Sort by:Oldest
Comments (12)
Related Stories
HOUSEPLANTSOrchids 101: How to Keep Your Moth Orchids Alive and Blooming
Growing Phalaenopsis — and getting it to flower again — is easier than you might think
Full Story
HOUSEPLANTSHow to Grow Orchids Indoors
Orchids are the exotic aristocrats of the flower world and can make themselves comfortable in almost any home
Full Story
FLOWERSOrchids 101: Cymbidiums Add Beauty Indoors and Out
Their large, long-lasting flowers give them a place of honor in homes and gardens
Full Story
FLOWERSSee the Amazing Orchids Unfolding at a New York Garden Show
Get an eyeful of awe-inspiring orchids in incredible colors and learn how to keep one happily blooming at home
Full Story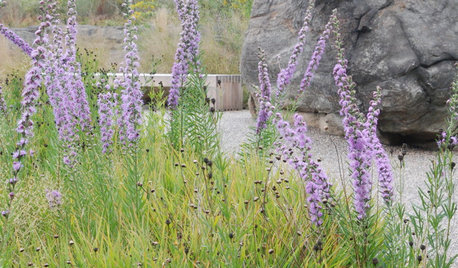
GARDENING GUIDESGreat Design Plant: Liatris Aspera
Tall blazing star’s unique flower spikes bring butterflies and bees to eastern U.S. gardens in early autumn
Full Story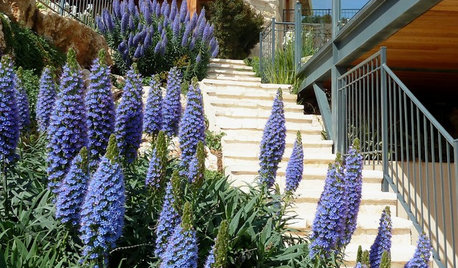
GARDENING GUIDESGreat Design Plant: Pride of Madeira
Try this drought-tolerant stunner for its massive flower spikes that burst with purple, drawing butterflies and birds to the garden
Full Story
CHRISTMASGift Giving the Simple-ish Way
If buying holiday gifts drives you to the spiked holiday punch, try these easier but still rewarding traditions
Full Story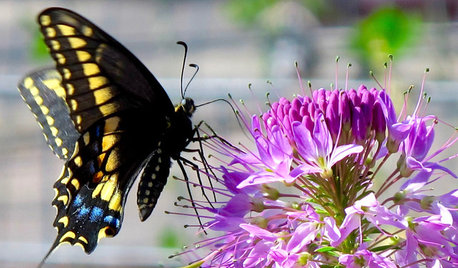
FLOWERS AND PLANTSPlant Rocky Mountain Beeplant for Late-Summer Color and Pollinator Buzz
Add pizazz to your garden with this native annual. Its vivid pink flower spikes are magnets for butterflies, bees and hummingbirds
Full Story
HOUSEPLANTSHow to Keep Your Gift Plants Happy After the Holidays
Yes, you can keep your poinsettia, amaryllis, cyclamen and other gift plants alive and blooming for holidays to come
Full Story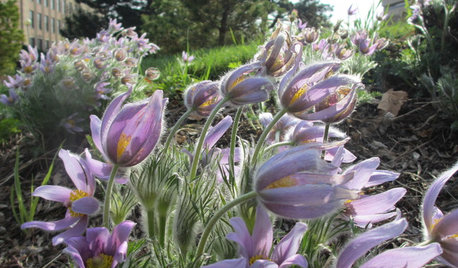
GARDENING GUIDES20 Purple Flowers to Beautify Your Garden
If you like Pantone’s 2018 Color of the Year, try some of these purple-flowering plants suited to U.S. gardens
Full StoryMore Discussions
Billsc
flopsycat1Original Author
Related Professionals
Belmont Landscape Architects & Landscape Designers · Clark Landscape Architects & Landscape Designers · McKinney Landscape Contractors · Matthews Landscape Contractors · Bellefontaine Neighbors Landscape Contractors · Bethel Park Landscape Contractors · Camp Verde Landscape Contractors · Cordele Landscape Contractors · Flagstaff Landscape Contractors · West Chicago Landscape Contractors · Champaign General Contractors · Goldenrod General Contractors · Reisterstown General Contractors · Syosset General Contractors · Titusville General Contractorsflopsycat1Original Author
Billsc
flopsycat1Original Author
flopsycat1Original Author
flopsycat1Original Author
Billsc
flopsycat1Original Author
flopsycat1Original Author
Billsc
flopsycat1Original Author