


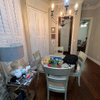
I want to make a top treatment for a window , need advice
shelende
15 years ago
Sort by:Oldest
Comments (3)
Related Stories
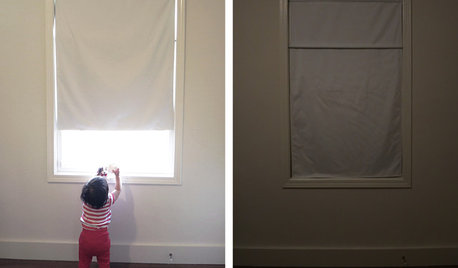
DIY PROJECTSHow to Make a Top-Down, Bottom-Up Window Shade
Block light and control privacy high or low with a no-frills magnetic covering you can whip up for less than $30
Full Story
LIFEGet the Family to Pitch In: A Mom’s Advice on Chores
Foster teamwork and a sense of ownership about housekeeping to lighten your load and even boost togetherness
Full Story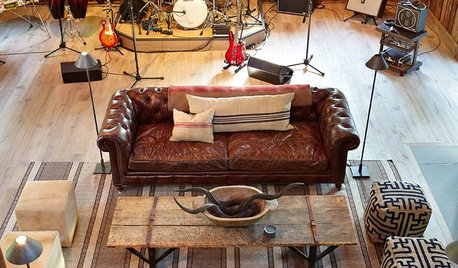
THE ART OF ARCHITECTURESound Advice for Designing a Home Music Studio
How to unleash your inner guitar hero without antagonizing the neighbors
Full Story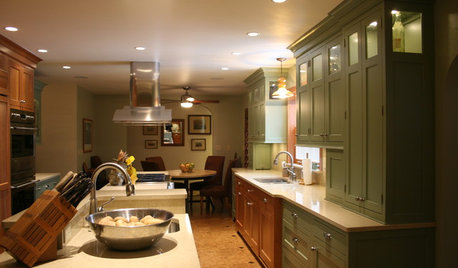
KITCHEN DESIGNSmart Investments in Kitchen Cabinetry — a Realtor's Advice
Get expert info on what cabinet features are worth the money, for both you and potential buyers of your home
Full Story
DECORATING GUIDES10 Design Tips Learned From the Worst Advice Ever
If these Houzzers’ tales don’t bolster the courage of your design convictions, nothing will
Full Story
FARM YOUR YARDAdvice on Canyon Farming From L.A.'s Vegetable Whisperer
See how a screened garden house and raised beds help an edible garden in a Los Angeles canyon thrive
Full Story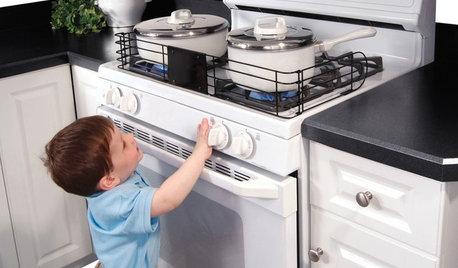
HEALTHY HOMEHow to Childproof Your Home: Expert Advice
Safety strategies, Part 1: Get the lowdown from the pros on which areas of the home need locks, lids, gates and more
Full Story
BATHROOM DESIGNDreaming of a Spa Tub at Home? Read This Pro Advice First
Before you float away on visions of jets and bubbles and the steamiest water around, consider these very real spa tub issues
Full Story
REMODELING GUIDESContractor Tips: Advice for Laundry Room Design
Thinking ahead when installing or moving a washer and dryer can prevent frustration and damage down the road
Full Story
KITCHEN STORAGEKnife Shopping and Storage: Advice From a Kitchen Pro
Get your kitchen holiday ready by choosing the right knives and storing them safely and efficiently
Full Story


graywings123
bbstx
Related Professionals
Crestview Interior Designers & Decorators · Fountain Hills Interior Designers & Decorators · New Providence Interior Designers & Decorators · Manhattan Furniture & Accessories · Gages Lake Furniture & Accessories · Glenview Furniture & Accessories · Temple Terrace Furniture & Accessories · Carson Furniture & Accessories · Summerville Custom Artists · Beech Grove Lighting · Miami Springs Lighting · Oak Lawn Lighting · Gadsden Window Treatments · North Tustin Window Treatments · San Rafael Window TreatmentsshelendeOriginal Author