


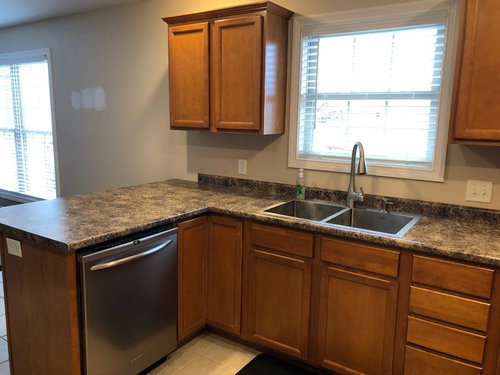
Budget Kitchen Renovation - Before & After
emily3907
5 years ago

Featured Answer
Sort by:Oldest
Comments (49)

emily3907
5 years agolast modified: 5 years agoRelated Professionals
Bridgeport Furniture & Accessories · Kirkland Furniture & Accessories · Washington Furniture & Accessories · Carson City Furniture & Accessories · Annandale Furniture & Accessories · Miami Beach Furniture & Accessories · Rogers Furniture & Accessories · Oak Park Window Treatments · South Bend Lighting · Beach Park Kitchen & Bathroom Remodelers · Forest Hill Kitchen & Bathroom Remodelers · Mountain Top Kitchen & Bathroom Remodelers · Palos Verdes Estates Cabinets & Cabinetry · Lake Nona Tile and Stone Contractors · Calumet City Design-Build Firmsemily3907
5 years agoemily3907
5 years agolast modified: 5 years agoemily3907
5 years agoemily3907
5 years agolast modified: 5 years agoemily3907
5 years agolast modified: 5 years agoemily3907
5 years agosgmtmh
5 years agoUser
5 years agolast modified: 5 years ago
Stephanie Chatel
5 years agocs929
5 years ago
beckysharp Reinstate SW Unconditionally
5 years ago
raee_gw zone 5b-6a Ohio
5 years ago
Annette Holbrook(z7a)
5 years agolast modified: 5 years agoAMS
5 years agokazmom
5 years agolast modified: 5 years ago
just_janni
5 years ago
Boxerpal
5 years agoemily3907
5 years agoemily3907
5 years agoemily3907
5 years ago PRO
PRONorwood Architects
5 years ago


Related Stories
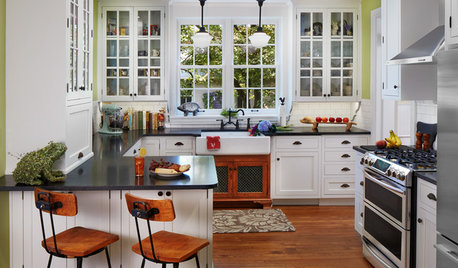
KITCHEN MAKEOVERSBefore and After: Glass-Front Cabinets Set This Kitchen’s Style
Beautiful cabinetry, mullioned windows and richly refinished floors refresh the kitchen in an 1879 Pennsylvania home
Full Story
MOST POPULARBefore and After: 13 Dramatic Kitchen Transformations
See the wide range of ways in which homeowners are renovating their kitchens
Full Story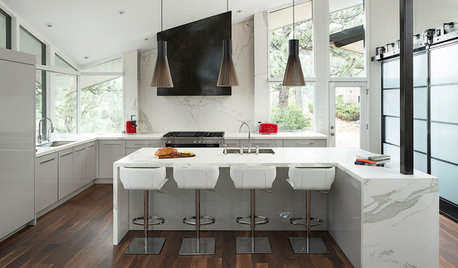
KITCHEN DESIGNBefore and After: 4 Black-and-White Kitchen Makeovers
See how the chic color palette adds contrast and drama to these renovated kitchens
Full Story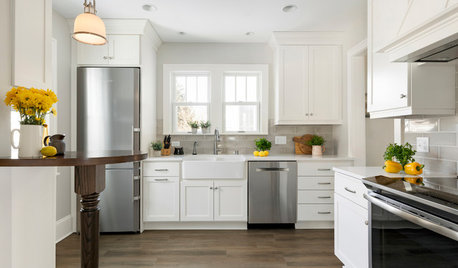
KITCHEN MAKEOVERSBefore and After: 11 Inspiring Kitchen Transformations
Look to these kitchen renovations for ideas and inspiration
Full Story
KITCHEN MAKEOVERSBefore and After: 3 Remodeled Kitchens With a Vintage Vibe
A hand-painted hood, a brick fireplace and patterned porcelain tiles add classic charm to these renovated kitchens
Full Story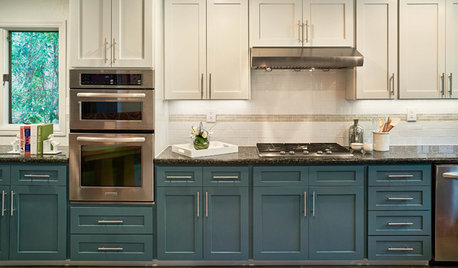
KITCHEN OF THE WEEKKitchen of the Week: Refacing Refreshes a Family Kitchen on a Budget
Two-tone cabinets, vibrant fabric and a frosty backsplash brighten this eat-in kitchen
Full Story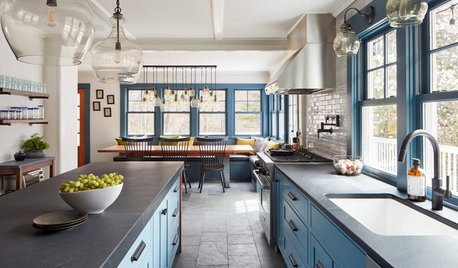
KITCHEN MAKEOVERSBefore and After: Clever Kitchen Redesign Draws a Crowd
A Massachusetts kitchen for a family of 11 gets a new configuration that provides more style, function and space
Full Story
KITCHEN MAKEOVERSBefore and After: A Kitchen and Dining Area for 3 Generations
The walls come down in this Toronto home to create a more functional space for cooking, dining and doing homework
Full Story
REMODELING GUIDESFrom the Pros: 8 Reasons Kitchen Renovations Go Over Budget
We asked kitchen designers to tell us the most common budget-busters they see
Full Story
BUDGETING YOUR PROJECTHouzz Call: What Did Your Kitchen Renovation Teach You About Budgeting?
Cost is often the biggest shocker in a home renovation project. Share your wisdom to help your fellow Houzzers
Full Story


tackykat