
DIY: Easy Outdoor Cushions
Accessorize your outdoor area in a jiffy with these simple and versatile cushions

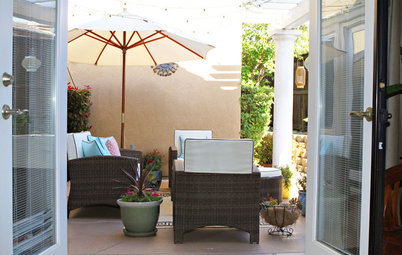
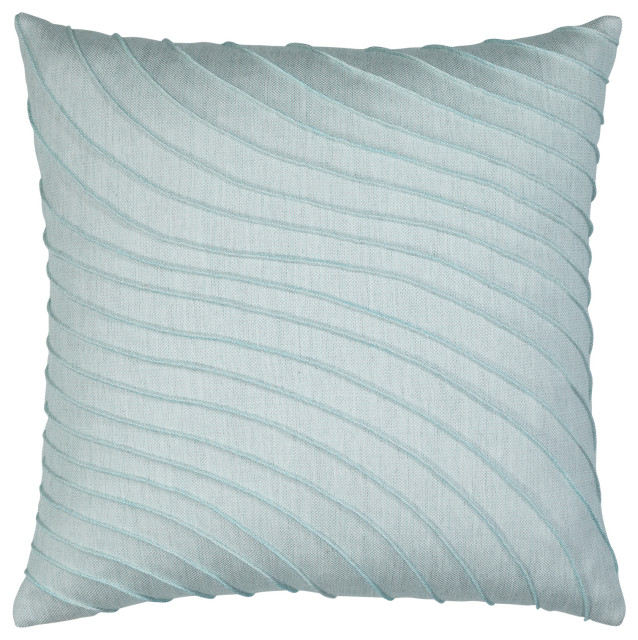
Style and comfort go hand in hand when I'm designing a space. Whether it's a bedroom or the outdoors, a bit of texture can transform an austere space into an inviting retreat. Pillows in bright colors and beautiful patterns are one of the easiest ways to do this.
But there's no need to spend a lot on them at your local home decor store — instead, save some pennies and make these versatile cushions yourself. Does the thought of sewing give you an anxiety attack? Don't worry, even a beginner like me had it easy with this project. Here's how I did it.
But there's no need to spend a lot on them at your local home decor store — instead, save some pennies and make these versatile cushions yourself. Does the thought of sewing give you an anxiety attack? Don't worry, even a beginner like me had it easy with this project. Here's how I did it.
Two yards of fabric made two 13-inch-diameter cushions (before stuffing), and there was even enough left over to make a pillow cover for a 16 x 16-inch pillow.
Materials
- 2 yards outdoor fabric
- Piping
- Sewing machine
- Regular point sewing machine needles
- All-purpose thread
- Heavy-duty thread
- 3 1/2-inch needle
- (2) 60-1 1/2-inch half ball cover buttons
- (1) 32-oz. bag and (1) 12-oz. bag poly fiberfill
Outdoor fabric is great for both indoor and outdoor decorating. It will withstand abuse from the elements and hold up to a lot of wear and tear, and it cleans up easily with soap and water. Another heavy-duty fabric option is duck cloth, but the patterns tend to be more limited.
This specific indoor/outdoor fabric is Swavelle/Mill Creek Indoor/Outdoor Faylinn Teal and is fade-, stain- and water-resistant.
Step-by-Step
1. Wash and dry the fabric. To determine the dimensions of the circle, fold the fabric in half lengthwise so both selvedge edges are together. Measure from the fold right up to the selvedge line — this was 27 inches on my fabric.
2. Next, fold one side over to 13 1/2 inches — half the length of your first measurement — and cut the bottom fabric along the edge of the top piece.
3. Fold the bottom of the fabric up to the selvedge, creating a 13 1/2-inch square. Don't worry about cutting off the selvedge edge; we'll trim that later.
4. Measure and mark 13 inches from the folded corner from one edge to the other.
5. Cut along your markers and remove pins.
6. While folded, mark the center of the outside piece at the folded corner. Open both, refold the interior piece and mark its center at the folded corner too.
Note: Depending on the strength of your fabric, you may need reinforcement behind the center when attaching buttons. To give mine a bit more strength, I hot glued the wrong side of a remnant square to the wrong side of each circle's center.
Note: Depending on the strength of your fabric, you may need reinforcement behind the center when attaching buttons. To give mine a bit more strength, I hot glued the wrong side of a remnant square to the wrong side of each circle's center.
7. Next, attach the piping. Insert a piping foot into the sewing machine and sew the piping to the front side of one circle, starting 1/2 inch from the beginning and ending 1/2 inch before the end.
A zipper foot is commonly used for this because this piping is on the small side, but I didn't have one on hand, and the piping foot was a great substitution. If you'll be using a zipper foot, use it in the place of the piping foot at each mention.
New to sewing and a little boggled by the different feet? Sew Mama Sew provides a great explanation about what each sewing foot does.
Choose one side of the piping, rip the original seam out about an inch back and trim off the cording.
Fold the empty piping over the other end.
Sew into place with the piping foot.
8. To bind the top and bottom pieces, place the right sides together and pin around the body to keep them from shifting when you sew.
Butt the piping foot against the piping's edge to make for easy sewing. Remember to leave about a 12-inch gap to turn the shell right side out and for filling.
9. Turn the shell right side out by pulling it through the opening. Stuff with polyester filler until you reach your desired fullness.
10. Swap out the piping foot for a standard pressure foot. Pin the open ends together and sew along the edge of the fabric as close to the piping as possible.
11. Attach the buttons to the center of each side. You'll need two 1 1/2-inch cover buttons, heavy-duty thread and a long needle. I used a 3 1/2-inch needle to sew the buttons into place.
If you choose to cover the buttons, follow the instructions on the back of the package.
If you choose to cover the buttons, follow the instructions on the back of the package.
12. Double thread the needle and knot the thread. Slide the needle and thread through the marked center to the opposite side's marked center and back through the center again. Repeat.
13. Pull through the button hook. Push the needle back through the center to the opposite side's center and again through a button hook. Repeat about six times, tightening as you go. Tie off the thread and trim any extra.
With that, you have a finished cushion.
Use these as floor cushions around a communal area, like a low-profile table, or in the open grass.
Or use them as pillows for an alfresco nap, stargazing or my favorite — outdoor movie viewing.
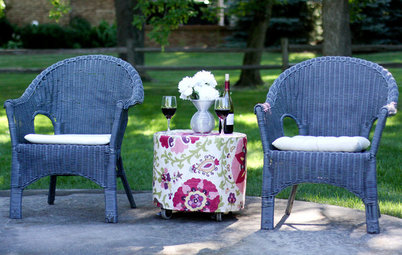
Here, I've used them to liven up a pair of Adirondack chairs.
Cushions are a great way to kick up natural furniture with a bright color or bold pattern. While bright colors can energize a space, a neutral palette can create a more calming and peaceful setting. These cushions are so easy that choosing the fabric might be the hardest part.
Share a photo of your favorite DIY project