


new cultivar conifer bed /post bomb pics (picture-dense)
dansgrdn
15 years ago


Sort by:Oldest
Comments (7)
Related Stories
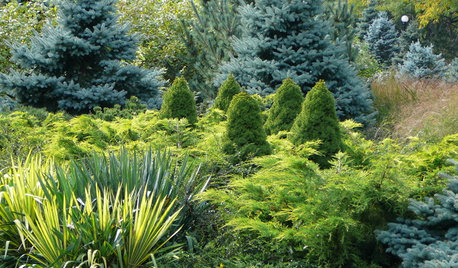
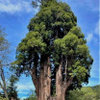
PLANTING IDEASDesigning With Conifers: Layers of Texture for Your Garden
Sharp and prickly or fine like ferns, richly textured conifers bring unexpected interest to the landscape
Full Story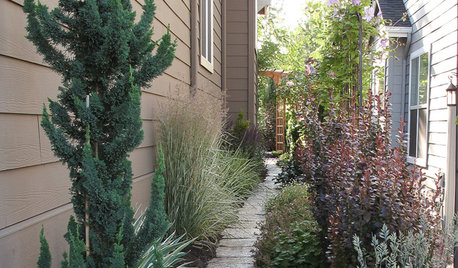
SIDE YARD IDEASNarrow Trees for Tight Garden Spaces
Boost interest in a side yard or another space-challenged area with the fragrance and color of these columnar trees
Full Story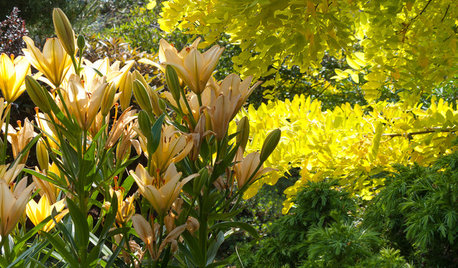
GARDENING GUIDESGreat Garden Combo: 3 Wonderful Plants for a Deer-Resistant Screen
Protect your privacy and keep deer at bay with a planting trio that turns a problem garden area into a highlight
Full Story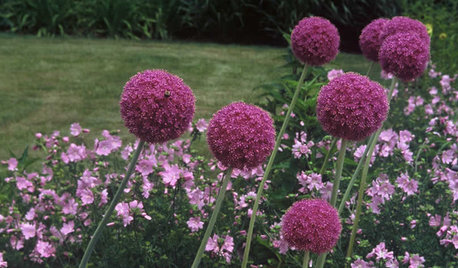
GARDENING GUIDES6 Unsung Bulbs for Fall Planting
Don't hang up your spade after summer — plant these unusual bulbs in fall for a spectacular spring show
Full Story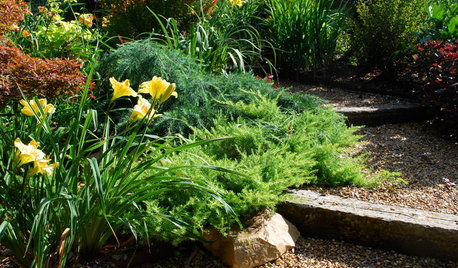
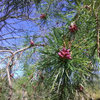
GARDENING GUIDESGreat Design Plant: Juniperus Conferta ‘Golden Pacific’
‘Golden Pacific’ shore juniper shines in sun or partial shade
Full Story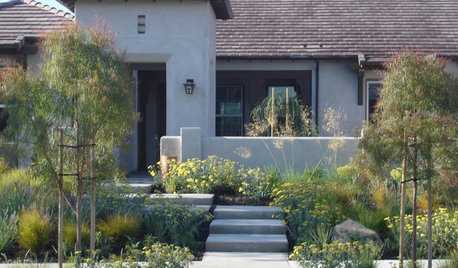
LANDSCAPE DESIGNGet Along With Less Lawn — Ideas to Save Water and Effort
Ditch the mower and lower your water bill while creating a feast for the eyes with diverse plantings and gathering places
Full Story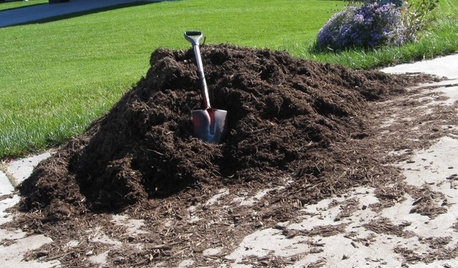
FRONT YARD IDEASBefore and After: Front Lawn to Prairie Garden
How they did it: Homeowners create a plan, stick to it and keep the neighbors (and wildlife) in mind
Full Story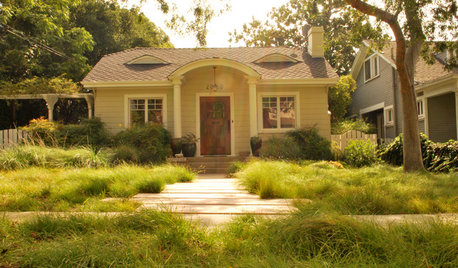
MOST POPULARMeet a Lawn Alternative That Works Wonders
Carex can replace turfgrass in any spot, is low maintenance and adjusts easily. Add its good looks and you’ve got a ground cover winner
Full Story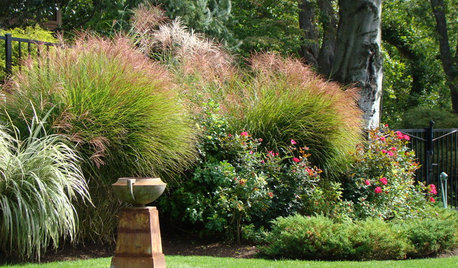
LANDSCAPE DESIGNThe 7 Best Plant Types for Creating Privacy and How to Use Them
Follow these tips for using different kinds of plants as living privacy screens
Full Story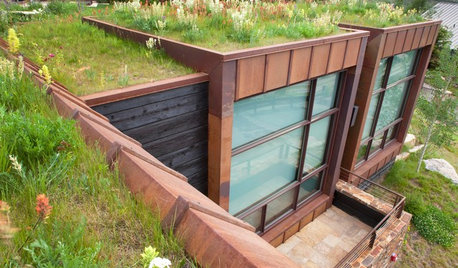
GREEN BUILDING6 Green-Roof Myths, Busted
Leaky, costly, a pain to maintain ... nope, nope and nope. Get the truth about living roofs and see examples from simple to elaborate
Full StoryMore Discussions

AlliYum
dansgrdnOriginal Author
Related Professionals
Forest Park Landscape Architects & Landscape Designers · Salisbury Landscape Architects & Landscape Designers · Willowick Landscape Architects & Landscape Designers · Tempe Landscape Contractors · Arlington Landscape Contractors · Chattanooga Landscape Contractors · Cudahy Landscape Contractors · East Chicago Landscape Contractors · Fridley Landscape Contractors · Saint Paul Landscape Contractors · Seven Hills Landscape Contractors · Severna Park Landscape Contractors · South Hackensack Landscape Contractors · Spring Landscape Contractors · Lauderdale Lakes Landscape Contractorsbluespruce53
dcsteg
tunilla
dansgrdnOriginal Author
plantmarker