


How to Plant Bulbs in Fall for Spring and Summer Blooms
Follow these step-by-step instructions for planting daffodils, irises, tulips and more

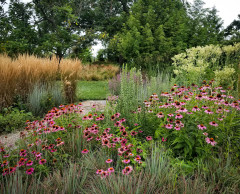
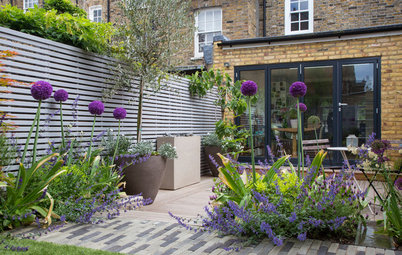
Bulbs have a well-deserved reputation of being easy to grow. Put them in the ground, give them some water in the beginning and the growing season, add some fertilizer and reap the rewards of outstanding spring and summer color. Many of the most popular bulbs will also happily spread out over the years. In addition, daffodils, baby gladioluses, Japanese irises and tulips grow well in containers, giving you a burst of springtime color right where you want it, even if you don’t have soil or ideal conditions.
If you’re new to growing bulbs or just want a refresher course, take a look at the planting steps below.
If you’re new to growing bulbs or just want a refresher course, take a look at the planting steps below.
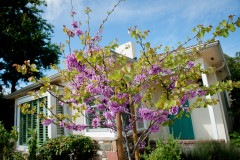
1. Choose a spot. Look for a spot with the right growing conditions for the bulb you want. Many do well in rather dry, sunny spots and like neutral to acidic soil, but some actually want shadier and wetter, even bog-like, conditions. Check the individual bulb’s growing instructions for more specific information.
Once you’ve chosen the location, amend the soil if it’s very heavy or very sandy. Be sure that you can dig down to the proper planting depth for the bulbs you’re growing, which can be up 8 inches.
Once you’ve chosen the location, amend the soil if it’s very heavy or very sandy. Be sure that you can dig down to the proper planting depth for the bulbs you’re growing, which can be up 8 inches.

Need a pro for your landscape design project?
Let Houzz find the best pros for you
Let Houzz find the best pros for you
2. Figure out the planting depth. This is where bulbs vary. Some like to be buried well below the surface level; others want to be barely below the surface. Some general guidelines for the most common bulbs:
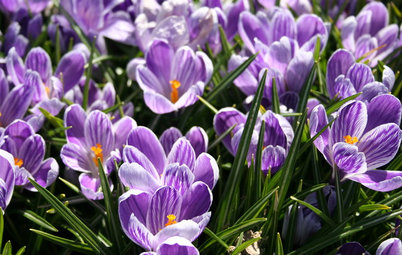
- Crocus: 2 to 3 inches deep
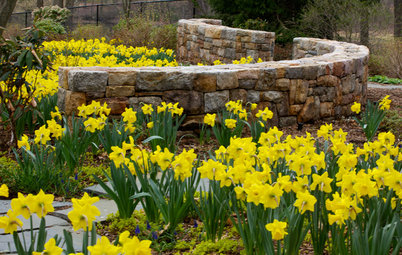
- Daffodil: 3 to 5 inches deep for smaller bulbs; 6 inches deep for larger ones; allow for at least 3 inches of soil above the bulb
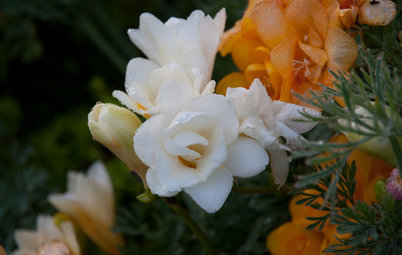
- Freesia: 2 inches deep
- Baby gladiolus: 4 inches deeper than the height
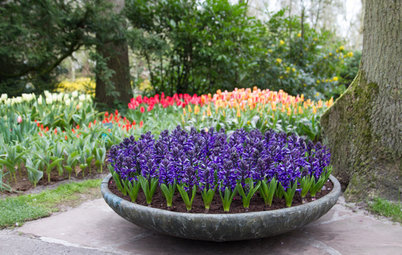
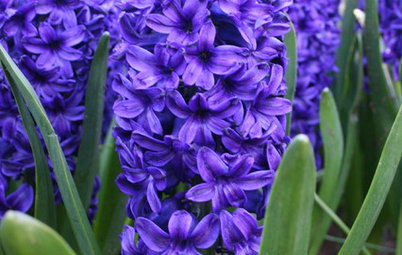
- Hyacinth: 2 inches deep
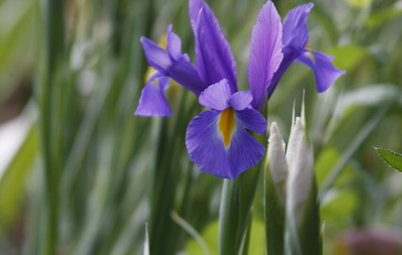
- Iris: Just below the soil for bearded irises; 1 to 2 inches deep for beardless irises; 3 to 4 inches deep for bulbous irises
- Muscari: 2 inches deep
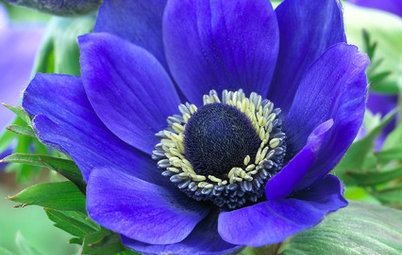
- Ranunculus: 2 inches deep
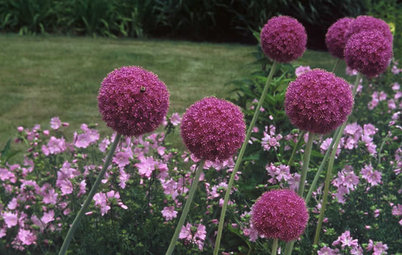
- Tulip: Three times as deep as the height; up to 8 inches below the soil
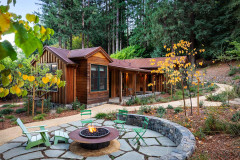
3. Plan your layout. Before you start planting, lay your bulbs out on the ground where you want to plant them, making any adjustments before you dig. This is especially helpful when you’re planting a large number of bulbs, especially if you want a natural look.
4. Dig a hole. This is both the simplest and most time-consuming part of the process. You can plant a small number of bulbs with a trowel. A bulb planter can make quicker work of digging the actual holes, although you might need to dig even deeper than the bulb planter reaches for bulbs like daffodils and tulips.
If you’re growing a large number of bulbs, you may want to dig out the entire planting area, set the bulbs in place and then cover them with soil, rather than digging individual holes.
Gophers, squirrels, moles and many other animals, including dogs, find bulbs delicious. Depending on how ravenous the creatures who live in your area are, you may want to add some protection inside the hole in the form of a cage made of chicken wire. This will keep underground scavengers from eating the bulbs. You can also stake down chicken wire over the entire planting area to keep bulbs from being dug up.
Daffodils are toxic, and most animals stay away from them. The exception is dogs, which have been known to eat them, so be sure the family pets can’t get at the bulbs.
Shop for gardening tools on Houzz
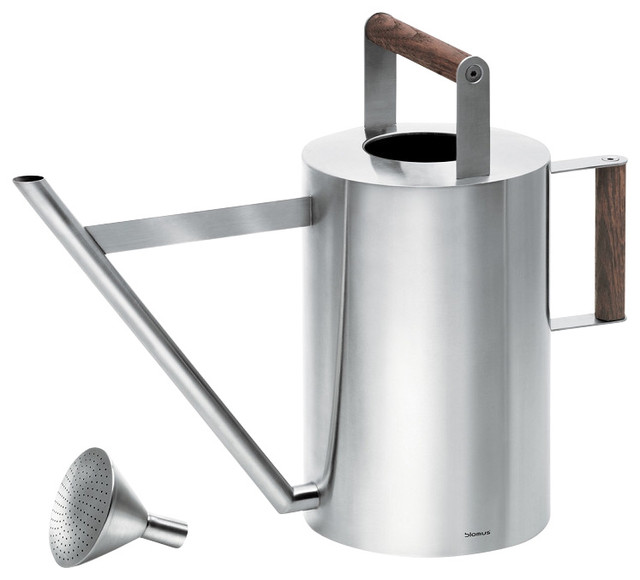
5. Feed and water. While you can add fertilizer when planting, it’s often not necessary, especially for annual bulbs, which have all the nutrients they need for a season’s growth.
Give the bulbs a good drink after planting. After that, you can usually let them rest until it’s time to start growing, unless you have a dry fall and winter. As always, check the recommendations for fertilizer and water for each type of bulb you’re planting.
Give the bulbs a good drink after planting. After that, you can usually let them rest until it’s time to start growing, unless you have a dry fall and winter. As always, check the recommendations for fertilizer and water for each type of bulb you’re planting.
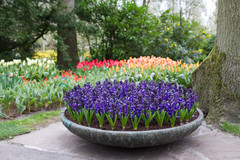
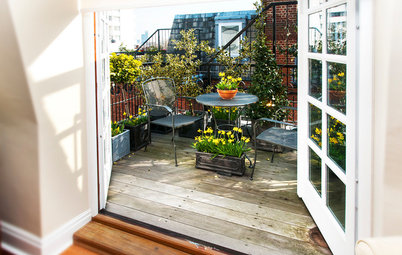
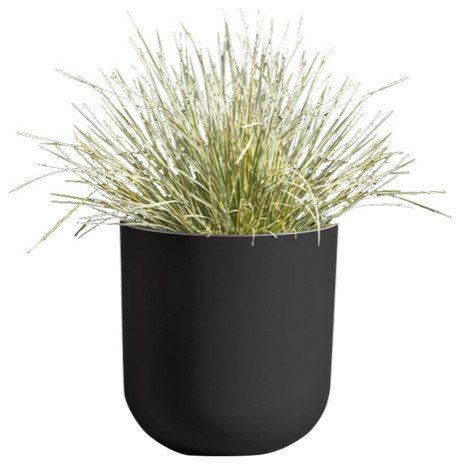
Growing Bulbs in Containers
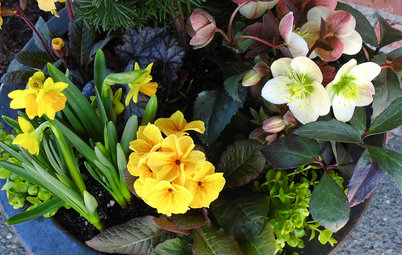
Daffodils and tulips also shine in containers, as do Japanese irises and the baby gladioluses. The general rule of thumb is to plant at the same depth as you would in the ground. Feel free to crowd plants a bit in containers — they look better when they’re massed.
Other than that, treat them as you would bulbs planted in the ground, although you will need to provide protection from cold weather for pots that can break. Place the containers where you can enjoy the display once the bulbs start blooming, then move them out of the limelight afterward.
More on Houzz
Read more guides on starting your garden
Work with a garden designer near you
Shop for garden pots and containers on Houzz

No matter what type of bulb you’re growing or where you’re growing it, the basic instructions for getting bulbs into the ground are much the same. Fall is the best time to plant the majority of spring- and summer-blooming bulbs, although some can handle being planted at other times of the year. In harsh-winter areas, you will need to provide winter protection and might be better off waiting until spring to plant. As with most plants, try to avoid putting them in the ground when temperatures are either very high or very low.
Need help choosing plants for your yard? Find a landscape designer on Houzz