Gardening Guides
Edible Gardens
Seeds or Seedlings? How to Get Your Garden Started
Growing delicious herbs and vegetables starts with knowing your goals and when you want to plant
Every spring, garden centers fill up with rack upon rack of baby plants. It can be tempting to buy these nursery-grown seedlings, especially if you’re new to gardening — but are they really the right choice for you?
Plants You Should Consider Buying
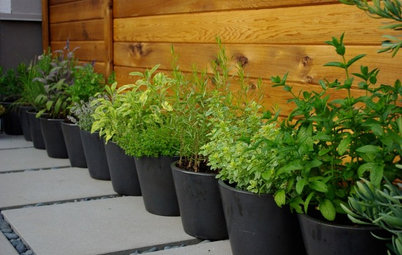
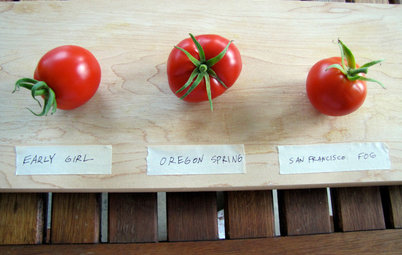
In cooler climates, tomatoes, squash and herbs need to be started indoors, a prospect that can be daunting for new gardeners. You may want to buy these plants from the nursery store. Perennial herbs can take a long time to grow from seed and will keep producing for years, so buying plants often makes sense.
For plants not listed here, browse Houzz guides to growing edibles, consult a local seed catalog or ask the staff at a reputable garden supply store.
Find a landscape designer on Houzz to help plan your edible garden
What to Look For When Buying Nursery Plants
Begin by finding a reputable garden supply store in your area. Plants are often available at grocery or home improvement stores, but all too often, they’re brought indoors at night, causing temperature fluctuations that can stress the plants. By purchasing from a reputable garden supply store, you’ll also have access to knowledgeable staff members who can answer your questions.
When choosing individual plants, look for ones that have firm leaves and a nice bushy growth pattern. Avoid tall, “leggy” plants. This is a symptom of a plant that hasn’t received enough light during its initial growth stages. Finally, look underneath the plant to make sure that there aren’t too many roots growing through the pot — evidence that the plant is root-bound and has grown too large for the container. In most cases, a small but sturdy plant is a much better choice than the biggest of the bunch.
Need a pro for your landscape design project?
Let Houzz find the best pros for you
Let Houzz find the best pros for you
Tips for Planting Your Nursery-Bought Plants
Try to transplant your seedlings in the morning or early evening, not midday. The hot sun can cause extra stress to plants as they adjust to their new environment.
To plant your store-bought seedlings in the garden, begin by setting them on top of the soil where you plan to put them. Determine if there is enough space between plants for them to grow to full size — the plant label should include spacing requirements.
Use a trowel to dig small holes where the plants will go. Make sure that both the seedling and your garden soil are nice and moist, and water if needed. Holding the seedling horizontally, use one hand to gently squeeze the plastic container until the plant comes loose, and use your other hand to support the plant’s stem until the plant comes out of its container (this can take some practice, especially with delicate seedlings like squash). Use your fingers to gently tease out any roots that look compressed.
Pop the plant in the hole you’ve dug, adjusting the size if necessary. For most plants, you’ll want to take care to bury the roots only, not the leaves or stem. A major exception is tomato seedlings, which thrive when the stem is partially buried.
Pat down the soil just enough to remove any potential air pockets. Gently water (use a watering can with a sprinkle head for best results) until the soil is moist but not flooded.
Plants Best Started From Seed
- Beans
- Beets, carrots and other root crops
- Corn
- Lettuce and other salad greens
- Peas
Beans, beets, carrots, corn and peas grow easily from seed and can suffer damage when they’re transplanted from a plastic container to their final location, so in most cases, they do best when directly planted.
Lettuce and other salad greens are best started from seed because, ideally, you want to plant a small amount each week for a continuous supply. It usually just doesn’t make sense to be dependent on a store for these crops. Salad greens grow easily from seed, especially in the cool weather of spring and fall, and can be planted directly in the soil.
Ways to Grow From Seed
Plant seeds directly. Many vegetables — including beans, beets, carrots, corn, peas and salad greens — can be planted directly in your garden where they’re going to grow. In these cases, your task is easy: Just follow the seed packet directions and keep the soil damp until your seedlings are well-established.
Once the first “true” leaves appear, you’ll need to thin out your directly planted seedlings. “True leaves” look like the plant’s adult leaves, rather than the smooth round “seed leaves” that first emerge (shown here). Gently pull out any seedlings that are growing too close together, giving your remaining plants enough room to grow to their full size. Refer to your seed packet for the space requirement for each type of plant.
Create your own mini nursery outdoors. Sometimes it makes sense to create your own nursery by starting seeds in a protected spot outdoors. This technique is incredibly useful if you’re an experienced gardener looking to do intensive planting in a small space. It is also very helpful if you’re trying to extend your growing season by starting plants early in the spring or especially in the heat of summer. The ability to control your environment and keep things well-watered can really improve germination if you’re facing any type of challenging weather.
Use specially designed plastic containers, available from garden supply stores. You can also use repurposed materials, such as clean yogurt containers with holes poked in the bottom. If plastic containers aren’t easy to find, some people use peat potsas an alternative, though keep in mind that peat is considered a nonrenewable resource. Use a lightweight potting mix and keep your seedlings protected from extreme sun or cold.
Transplant your seedlings once two to four sets of adult leaves have formed on the plant, using the same technique as with store-bought plants. Determining exactly when to transplant will depend on the type of plant, so it’s best to refer to a local seed catalog or gardening book.
Creating your own mini nursery is especially useful with brassicas, such as kale, and can be used as a general approach for most seeds if you’re dealing with very hot or very cool conditions. Consider using a mini greenhouse to create ideal conditions and keep things tidy.
Start seeds indoors. If you decide to grow your own herbs, squash or tomatoes from seed, then, depending on your climate, you may likely need to start them indoors. Consult a local seed catalog for timing and instructions for your area.
Before planting seeds indoors, make sure that you have the right setup at home. In some cases, a bright window can work, though “leggy” seedlings (a sign of not enough light) or sudden wilt (a sign of too much hot sun) are common problems with uncontrolled light. Ideally, you’ll want a lighting system — a worthwhile purchase for serious gardeners. You’ll also need seed starting mix, planting containers and trays, and, ideally, a heating mat, which speeds germination.
Keep in mind that once the adult leaves have formed, seedlings started indoors will need to be hardened off (slowly acclimatized to life outdoors) before they’re ready to be planted in the garden using the same technique as with store-bought plants. Starting seeds indoors can be challenging and requires some trial and error before you get good at it, but for committed gardeners, it really takes things to the next level.
However you grow your plants, the magic of growing food is an amazing experience. Choose an approach that feels comfortable for you.
Learn more about growing an edible garden from seed
More on Houzz
6 Things to Know Before You Start Growing Your Own Food
Read more edible-gardening guides
Find a landscape designer near you
Shop for gardening tools


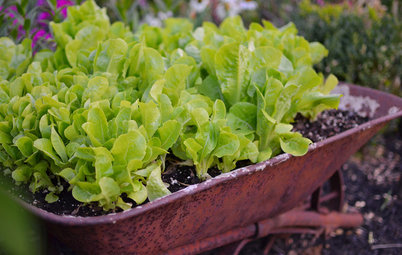
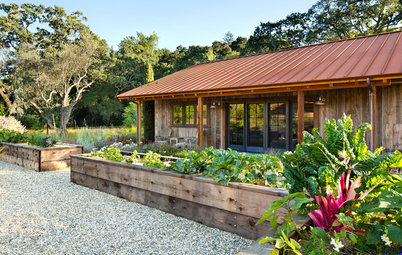
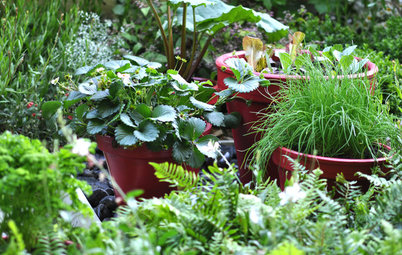
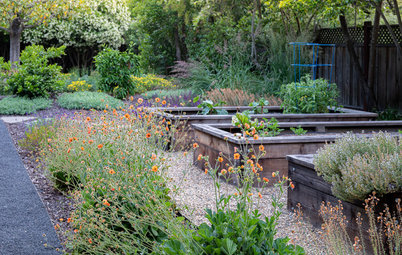

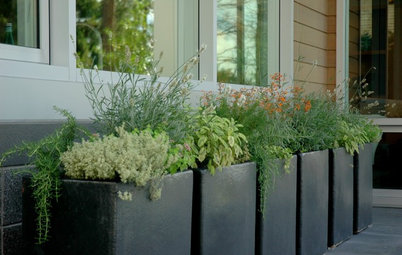
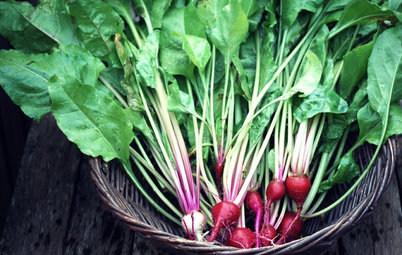


Buying plants from a store certainly seems convenient. They’re already growing and visible, and seem easier to plant than a pack of seeds. Store-bought plants are handy if you got a late start to the season and missed the opportunity to sow seeds at the right time. They can also take some of the guesswork out of starting a garden. And in some cases, such as with perennial plants that take years to mature, they can be worth the extra cost.
Nursery-grown plants have some disadvantages as well. In general, a single flat of lettuce plants costs about the same amount as an entire package of hundreds of lettuce seeds — often enough to supply your whole garden for several years if properly stored. Store-bought plants are sometimes less healthy than homegrown seedlings, as they may have been shipped from a far-off nursery and cared for under less-than-ideal conditions.
When purchasing plants, rather than seeds, you’ll have far less selection when it comes to varieties and may lose out on interesting heirlooms that are well-suited to your climate. Due to the timing of when garden centers stock up on veggies, you may likely be forced to start your garden much later than if you planted seeds.
When deciding how to start your garden, keep in mind your goals and what you plan to plant. While some plants are best started from seed, others may make sense to buy as plants, especially if your life isn’t conducive to starting seeds indoors.
8 Surefire Vegetables and Herbs for Beginning Gardeners